KIP
KIP provides data and payment rails to connect owners of AI assets – models, apps and datasets – letting them compete and collaborate freely within a decentralized ecosystem.
As in any decentralized system, KIP's goal is trustless coordination: requiring legions of indexers, validators, checkers, voters, bundlers, and RPC providers. From the validators who update the underlying chain, to the indexers who make on-chain data available for query, to the voters who exercise governance powers.
Checker Nodes within KIP Protocol's system play a role in both the operations and the governance of the system as a whole and are rewarded in $KIP.
Prerequisites
- EVM-compatible wallet
- Sufficient funds or credits for your Node subscription
- KIP Checker Node license
Set up a KIP Checker Node with NodeOps Console
Use the video or walkthrough to understand how to set up and deploy your Nodes.
Step 1: Connect with the Console
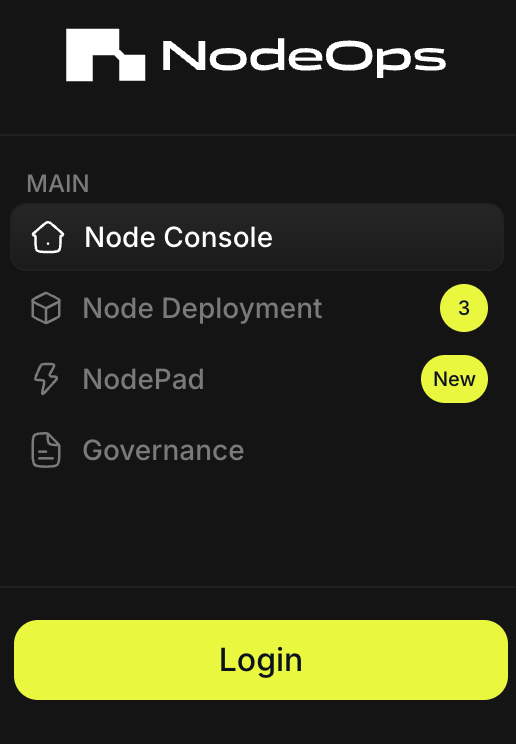
- From the Console, sign up or log in using the Log In button; bottom left of the Console.
Show me
- Choose your sign in method:
- Wallet/Email/Social
Show me sign in methods
Use the tabs to learn more:
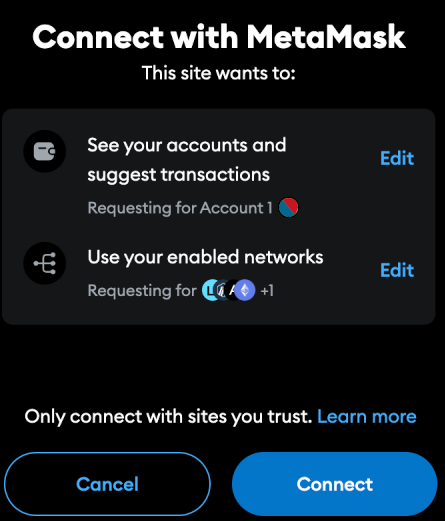
- Wallet
To sign in with an EVM-compatible wallet, you must approve the connection request in your Wallet. Click Connect and Confirm the request.
Show me
Sign in with Email and connect a wallet later.
Show me
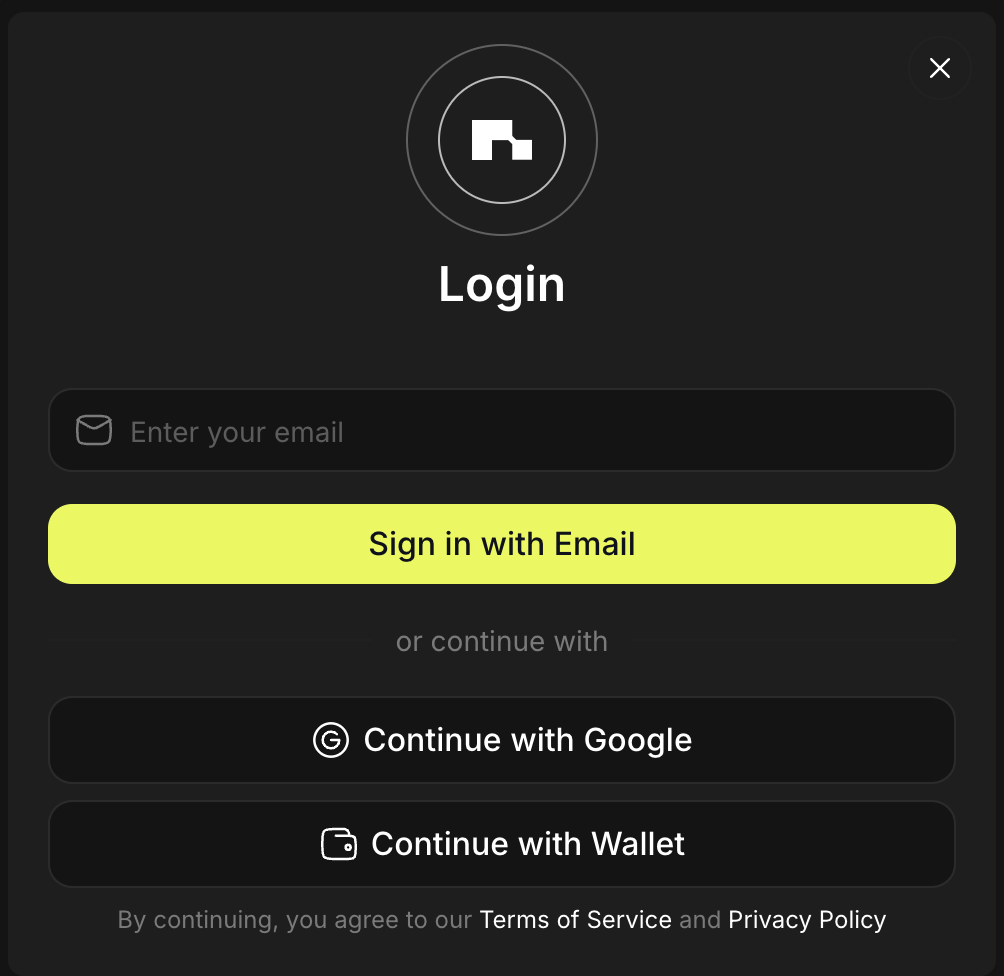
Sign in with Google and connect a wallet later.
Show me
Step 2: Navigate to the Node Deployment Menu
-
Navigate to Node Deployment on the left side menu and select Kip.
-
Update the Quantity to determine how many Nodes to deploy.
Step 3: Connect Your Wallet
Click “Connect Wallet” to link the wallet containing your Checker Node NFT. After connecting, click “Fetch NFT” to allow the console to automatically detect the NFTs in your wallet.
Step 4: Choose Your Subscription Duration
Select your desired subscription duration. Longer subscriptions reduce your monthly cost. You can also apply a discount code if available. Once finalized, click “Continue to Pay” to proceed.
Step 5: Complete Payment
Step 6: Initiate Node Delegation
After payment, you'll be redirected to Nodefolio. Locate the newly deployed Node, which will show an “Action Required” status. Click “Click to Delegate” to start the delegation process.
Step 7: Complete the Delegation Process
A pop-up window will appear. Select the licenses to which you want to delegate your Node, click “Delegate,” and sign the transaction. Ensure you have sufficient ETH in your wallet to cover gas fees.
Step 8: Confirm and Verify
Your KIP Checker Node is now fully deployed. Return to Nodefolio to confirm the status of your Node. The status will change from “Click to Delegate” to “Running,” indicating successful setup.
You're now ready to start earning rewards with your KIP Checker Node!
FAQ
- Do I need to upgrade my Node/s on my own?
No, NodeOps automates deployments and upgrades.
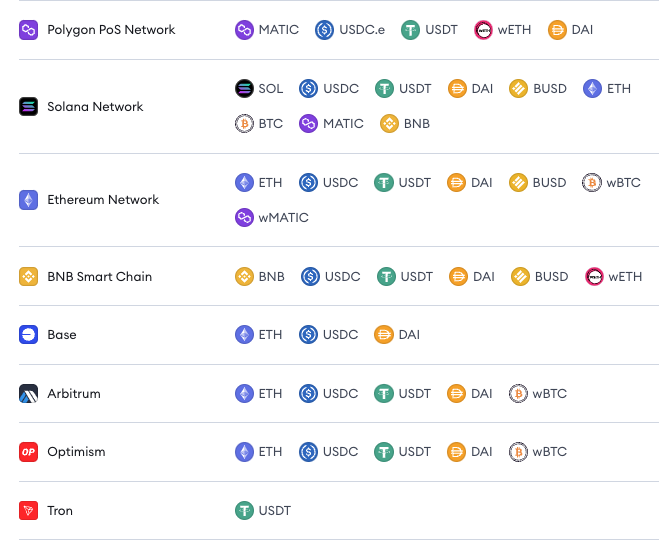
- How do I pay for subscriptions? Pay with fiat, stables, or tokens via our payment partner, Copperx:
Show me accepted stables and tokens
What next?
If you encounter any issues or have questions, use the Discord link in the footer below for guidance.
- Learn more from the KIP Protocol docs