Pay for services
You may top up credits or pay the required amount using the following apps:
Pay with $NODE or via our payment partner which accepts fiat card payments and supported stables and tokens.
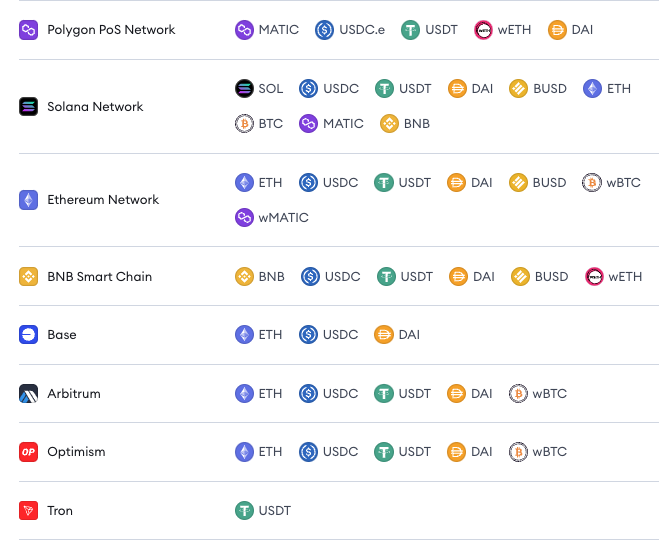
Show me accepted stables and tokens
You can convert $NODE to credits, convert other supported stables or tokens to credits, or pay with supported cards or tokens:
Prerequisites
- Funds in either an:
- EVM-compatible wallet
- Stables/Tokens/$NODE
- Credit or debit card
- EVM-compatible wallet
Overview
Follow this guide to understand how to pay for subscriptions and services provided within the NodeOps Console and NodeOps Marketplace apps.
You can either pay the exact subscription amount each time, or you can add credits to your NodeOps account and use these as needed.
Payment within NodeOps
Step 1: (Optional) top up your credits
To save you from paying multiple sets of transactions fees, you may top up your funds and hold them in your account. If you wish to skip this, jump to Step 2.
When you add credits to your dashboard, they are bound there until you use them. There's no withdrawal mechanism. Please load the amount that aligns with your intended usage.
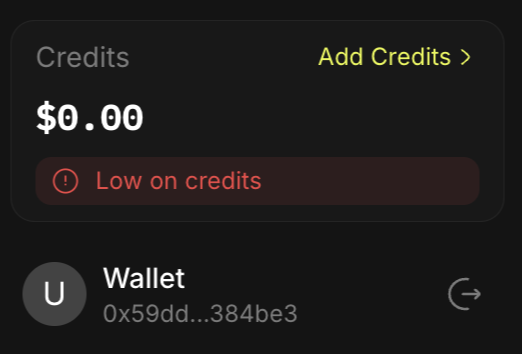
- Logged in to Console, or Marketplace, click Add Credits in the bottom left of the dashboard.
Show me
-
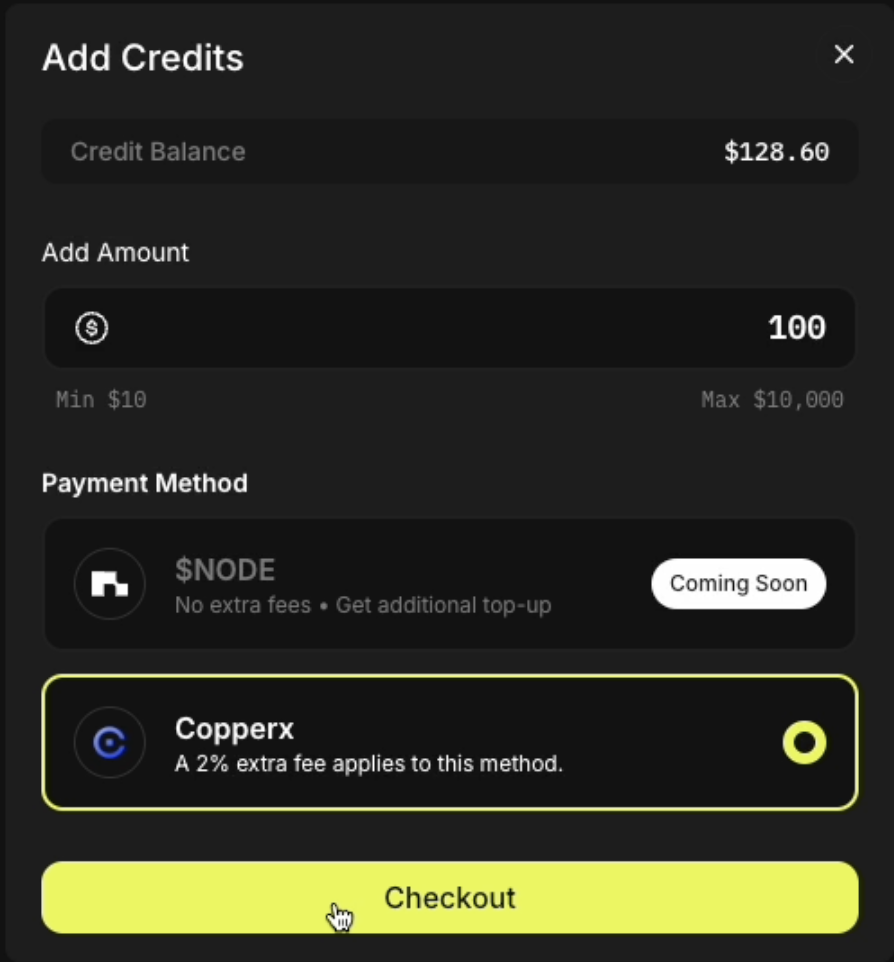
Enter the USD value you wish to credit your account with, and click Checkout.
-
Choose your payment vehicle: Fiat, tokens, or stables
- Fiat, tokens, or stables
- $NODE
Watch a video walkthrough
a. Select Copperx as the payment method.
b. Enter the USD value you wish to credit your account with, and click Checkout.
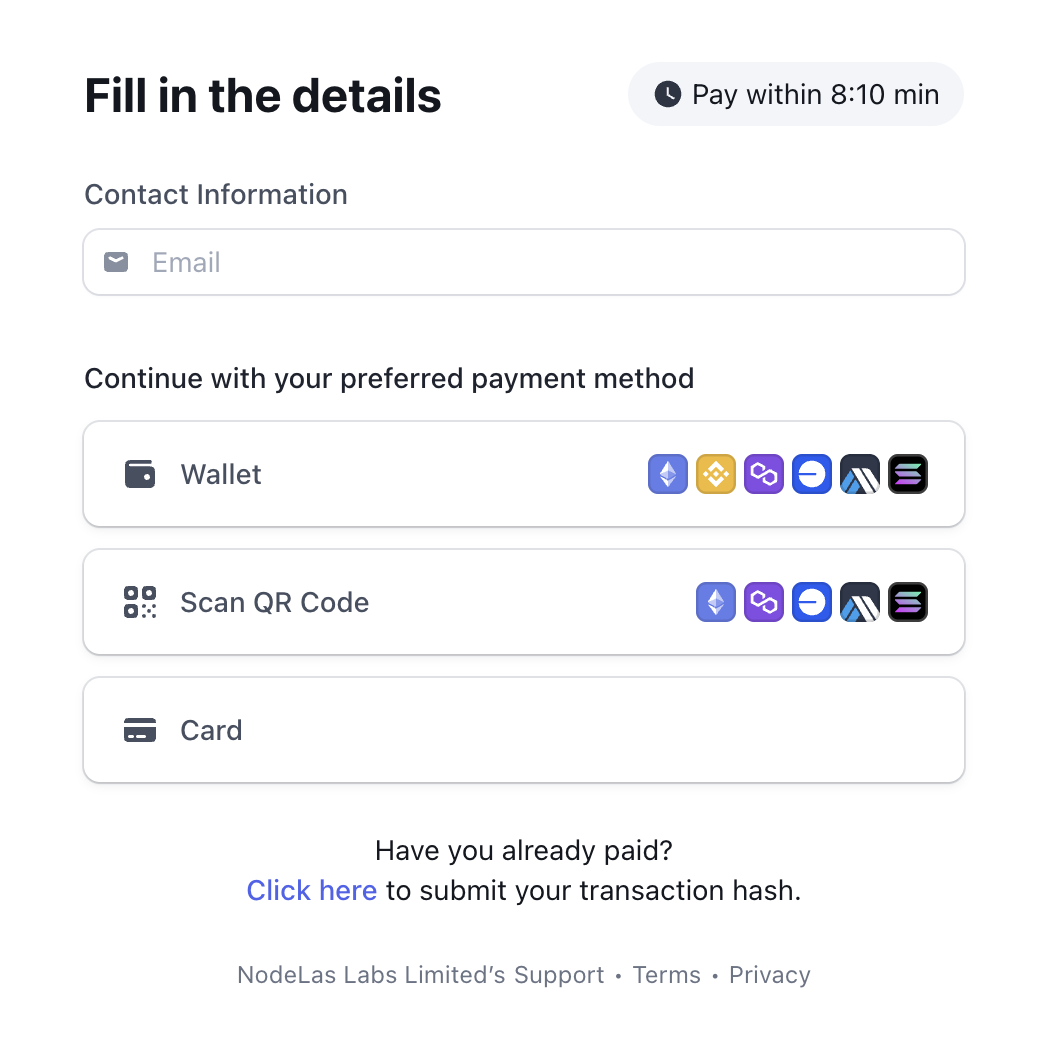
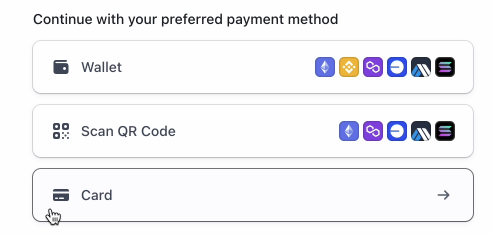
c. Select from:
- Wallet/Scan QR Code: For stable/token payments
- Card: For fiat payments
Show me
This option provides an address that you may copy directly into the "To" address in your EVM-compatible browser wallet, or you can use a mobile wallet to scan the QR to pickup that address.
Watch a video walkthrough
a. Select $NODE as the payment method.
b. Enter the USD amount of $NODE that you wish to convert to credits.
c. Click Checkout.
d. Confirm the transaction in your wallet.
Step 2: Pay for a subscription or service
Choose your payment vehicle:
- Make payment
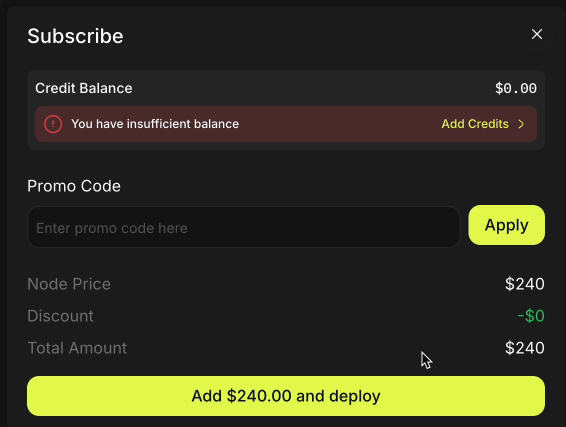
- Apply credits
- Redeem Promo Code
You may pay for credits, subscriptions, and services via our payment partner using:
- Debit or credit card
- Stables and tokens on supported chains
Show me stable and token payment options
Show me accepted stables and tokens
You can convert $NODE to credits, convert other supported stables or tokens to credits, or pay with supported cards or tokens:
- Logged in to Console, or Marketplace, subscribe for a product or service and follow the payment flow.
Show me
- Select Copperx and click Checkout
Show me
Choose to pay with stables, tokens or fiat, use the tabs below:
- Stables or tokens
- Fiat
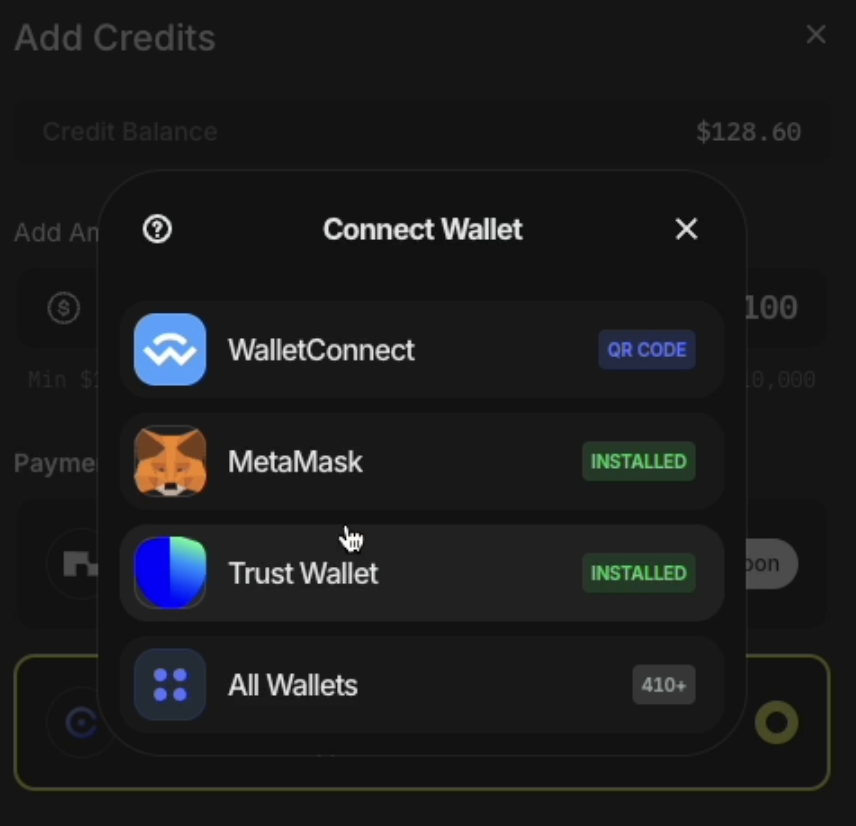
- Select the wallet containing your funds.
Show me
-
Continue with payment.
2.1 Choose either:
- Wallet
- Scan QR Code
This option provides an address that you may copy directly into the "To" address in your EVM-compatible browser wallet, or you can use a mobile wallet to scan the QR to pickup that address.
Show me
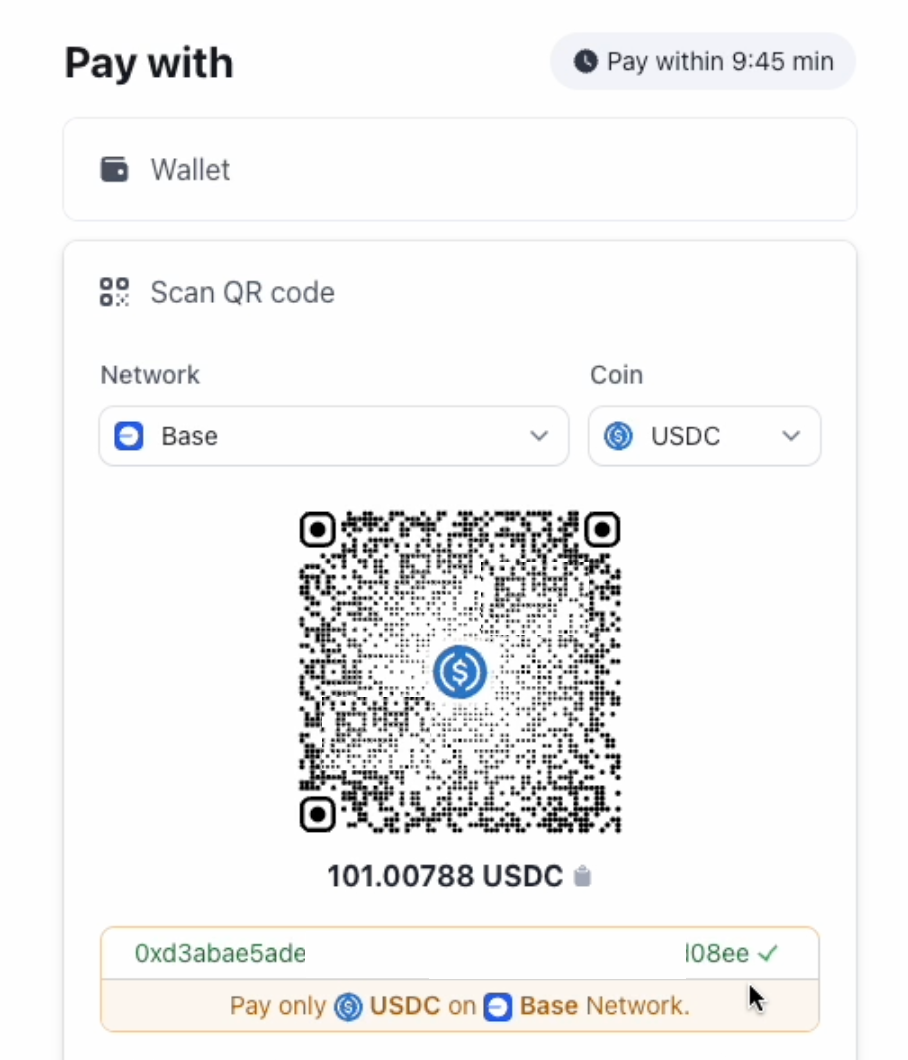
2.2 Select the network your stables or tokens reside on.
2.3 Enter the amount you wish to pay, and confirm the transaction.
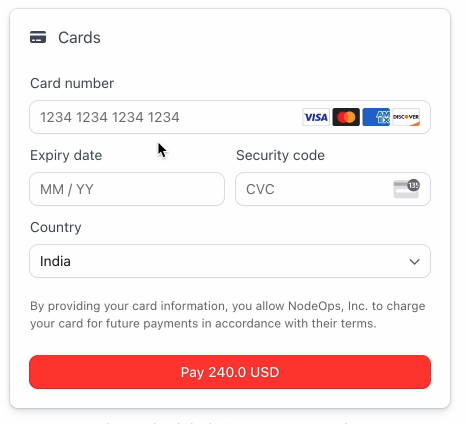
2.1 Select Card.
Show me
2.2 Enter your card details for our payment partner to process.
Show me
- Complete the payment.
-
Ensure your account is in credit.
-
Select your product or service.
-
Complete the payment using your credits.
If you have a Promo to redeem, you can use this for partial or total payment.
Congratulations, you are ready to use your favorite NodeOps services.
What next?
- Learn about NodeOps' Core Services
- Learn to manage your Marketplace account