Nexus
The Nexus Network is pioneering the future of verifiable computation by building a hyperscale decentralized supercomputer — purpose-built for AI workloads, blockchain applications, and privacy-enhancing technologies.
Nexus Testnet III marks the final phase before mainnet launch. It’s your opportunity to explore the network, test tools and applications, and earn rewards by contributing Compute to a decentralized, zero-trust system.
Prerequisites
- EVM-compatible wallet
- Sufficient funds or credits for your Node subscription
Run your Prover Nodes via NodeOps Console
This guide supports you in deploying Prover Nodes. Use the video or walkthrough to understand how to set up your nodes.
Deploy Nexus Testnet Nodes with NodeOps Console
Step 1: Connect with the Console
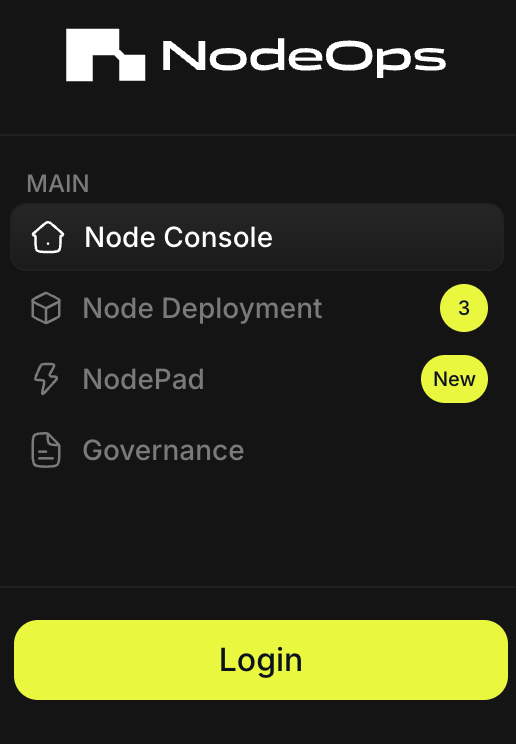
- From the Console, sign up or log in using the Log In button; bottom left of the Console.
Show me
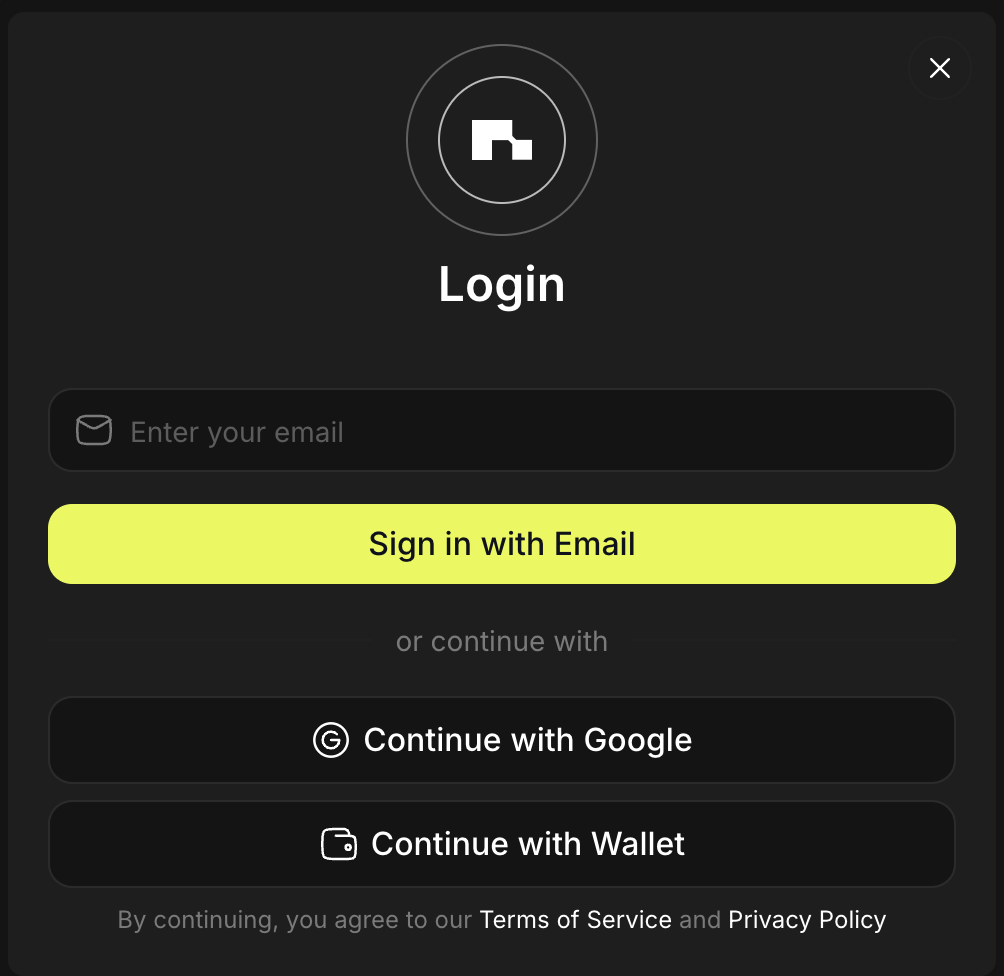
- Choose your sign in method:
- Wallet/Email/Social
Show me sign in methods
Use the tabs to learn more:
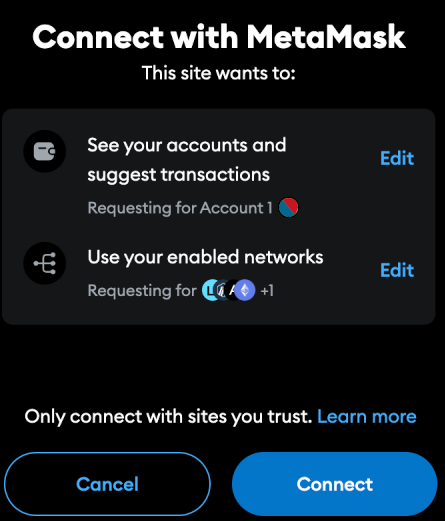
- Wallet
To sign in with an EVM-compatible wallet, you must approve the connection request in your Wallet. Click Connect and Confirm the request.
Show me
Sign in with Email and connect a wallet later.
Show me
Sign in with Google and connect a wallet later.
Show me
Step 2: Select your Protocol and Node
Navigate to Node Deployment on the left side menu and select Nexus.
Step 3: Generate CLI Node id
Proceed to Nexus Dashboard and click Add CLI node, then copy the Node id.
Step 4: Set up your Node subscription
Paste the Node id and pay. Once the Payment is successful, you'll automatically be redirected to the NodeFolio.
Step 5: (Optional) Verify your deployment
Wait for a couple of minutes for the Deployment status to change from Pending to Running.
FAQ
- Do I need to upgrade my Node/s on my own?
No, NodeOps automates deployments and upgrades.
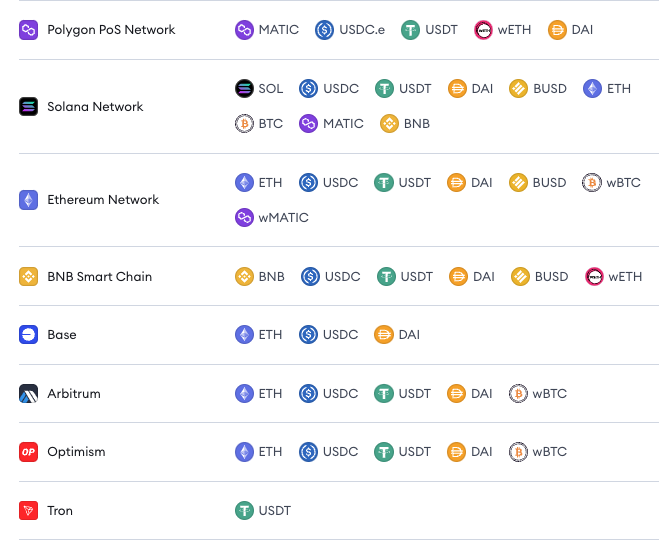
- How do I pay for subscriptions? Pay with fiat, stables, or tokens via our payment partner, Copperx:
Show me accepted stables and tokens
What next?
- Reach out on Discord if you need further assistance
- Learn more from the Nexus Documentation