DIN
DIN is the first modular AI-native data pre-processing layer, revolutionizing data flow and AI agent building with its innovative Protocols and communities. A key component of the DIN network is the Chipper Node, which playsa vital role in the AI data preprocessing workflow.
As licensed Data Validators and Vectorizers, Chipper Nodes handle the validation, classification, cleaning, and augmentation of raw data collected by Data Collectors. Node operators can run these Nodes on their own edge devices, leveraging a lightweight language classification model powered by fastText for efficient and accurate multilingual text processing. This processed data is optimized for AI training purposes.
Prerequisites
- EVM-compatible wallet containing:
- DIN Chipper Node License: Only available to users who participated in the Chipper Node sale.
- Sufficient funds or credits for your Node subscription
Run your DIN Nodes with NodeOps Console
This guide supports you to deploy DIN's Chipper Nodes.
Step 1: Connect with the Console
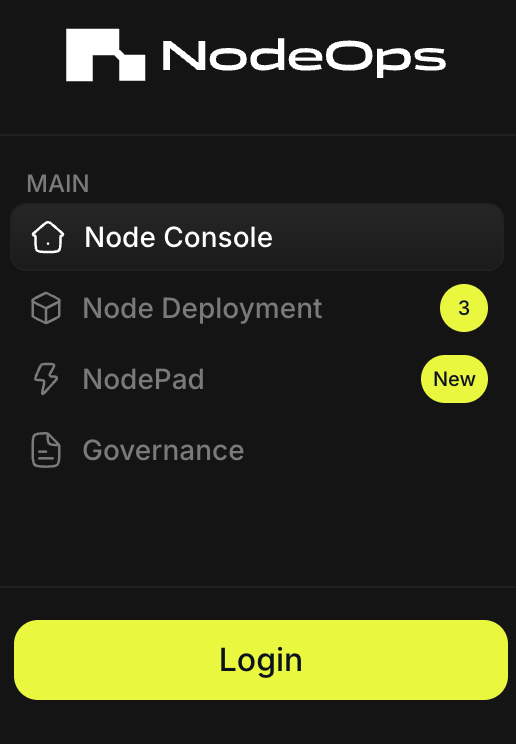
- From the Console, sign up or log in using the Log In button; bottom left of the Console.
Show me
- Choose your sign in method:
- Wallet/Email/Social
Show me sign in methods
Use the tabs to learn more:
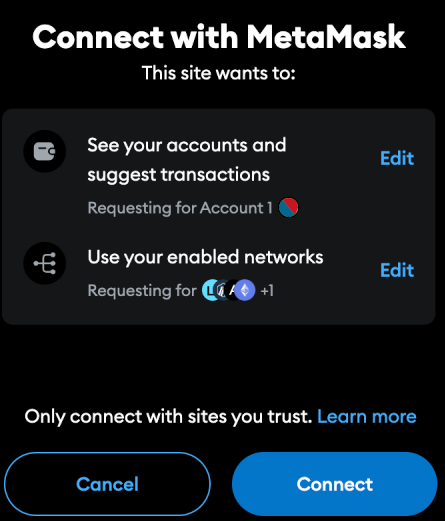
- Wallet
To sign in with an EVM-compatible wallet, you must approve the connection request in your Wallet. Click Connect and Confirm the request.
Show me
Sign in with Email and connect a wallet later.
Show me
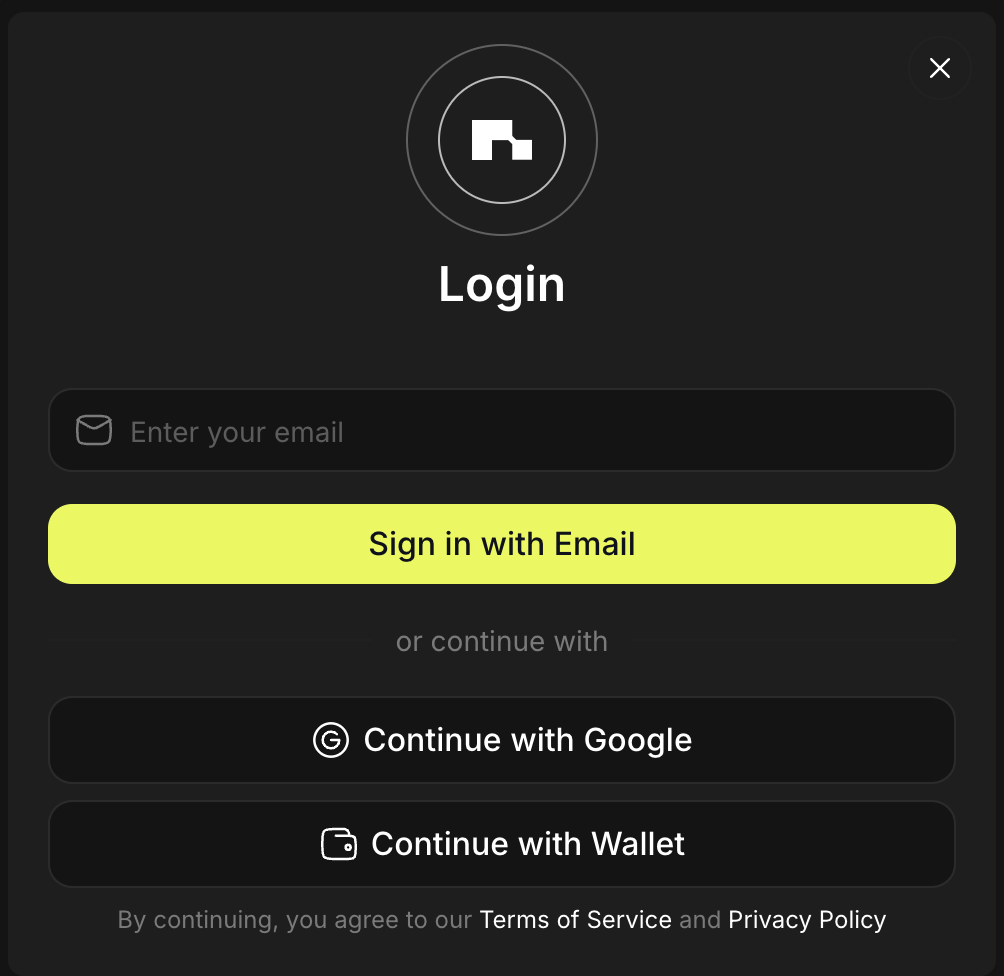
Sign in with Google and connect a wallet later.
Show me
Step 2: Set up your Node
2.1 Navigate to Node Deployment on the left side menu and select DIN.
2.2 Select the default “Chipper” Node type.
2.3 Click Connect Wallet with your wallet containing the Chipper Node NFT.
2.4 Click Fetch NFT.
The system will display the number of Chipper Node NFTs linked to your wallet.
2.5 Select the NFTs you wish to deploy from the displayed list.
Upper limit of 10 delegations per Node.
Step 4: Set up your subscription
4.1 Select your desired subscription duration. Longer subscriptions offer reduced monthly rates.
- If you have NodePoints or a discount code, apply them at this step.
4.2 Click Continue to Pay to proceed.
4.3 Complete Payment
If you have a Promo to redeem, you can use this when you pay to deploy your Node. No need to topup, you're ready for Step 3.
Step 5: (Optional) Confirm Node activation
Once payment is complete, your DIN Chipper Node status will change to Running in the NodeOps Console.
Congratulations! Your DIN Chipper Node is now active and contributing to the DIN network.
FAQ
- What's the pricing for deployment?
| Duration (Months) | Discount (%) | 1–10 Keys $ (per m) cost |
|---|---|---|
| 1 | NA | (4.00) 4.00 |
| 3 | 5% | (3.80) 11.40 |
| 6 | 10% | (3.60) 21.60 |
| 12 | 20% | (3.20) 38.40 |
- Do I need to upgrade my Node/s on my own?
No, NodeOps automates deployments and upgrades.
- How do I pay for subscriptions? Pay with fiat, stables, or tokens via our payment partner, Copperx:
Show me accepted stables and tokens
What next?
- Reach out on Discord if you need further assistance
- Learn more from the DIN documentation