Register your GCP Compute with NodeOps Network
Compute comes in all shapes and sizes. Cloud providers such as the Google Cloud Platform are a great way to spin up Compute with little effort.
This guide demonstrates how you can use your GCP-powered Compute and register it with NodeOps Network.
GCP hands out credits to new users. This means that anyone can provide Compute and earn gNODE in the NodeOps Network!
Prerequisites
- Gmail account
- Wallet
- GCP credits or billing to support a VM of the minimum requirements
Requirements
Apply storage in the correct ratio to the number of vCPUs provided to a mimimum:
Comply with the minimum hardware and port requirements:
- CPUs or vCPUs: ≥2
- GB RAM: ≥4
- SSD storage: ≥80GB NVMe Storage
- Network bandwidth: ≥1Gbps unlimited
- Uptime: ≥ 99%
- OS: Debian (12+) or Ubuntu (22.04+) installation with:
- Linux kernel 6.7+
- Latest security patches
- Allow traffic on ports:
- UDP 8472,51820
- TCP 10250
- Public static IPv4 address
- Run the Protocol at root
- Run additional workloads
- Have third-party applications or monitoring agents installed
- Enable SWAP
- Be exposed to intervention with the workload or machines
NodeOps Network's integration must be run directly on a machine at root:
- You can't run it in Docker
- Don't run it on a homelab
Step 1. Prepare the network rules
1.1 Sign up or log in to your Google Cloud account and create a new project.
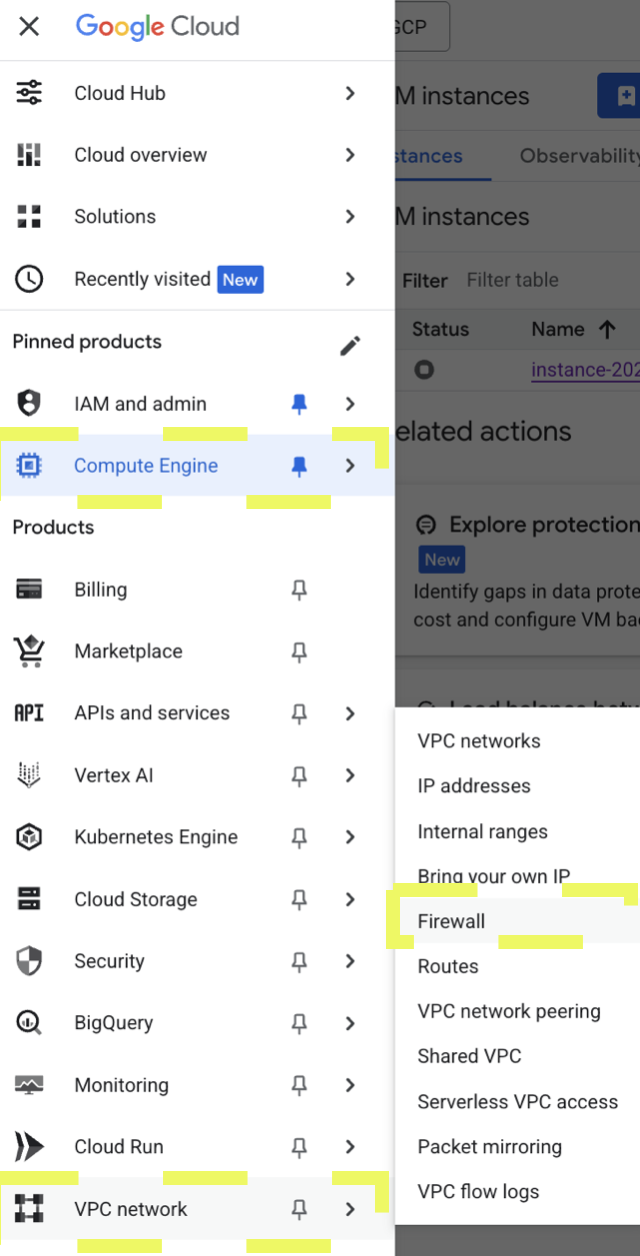
1.2 Navigate to Firewall policies and click Create firewall rule.
Show me

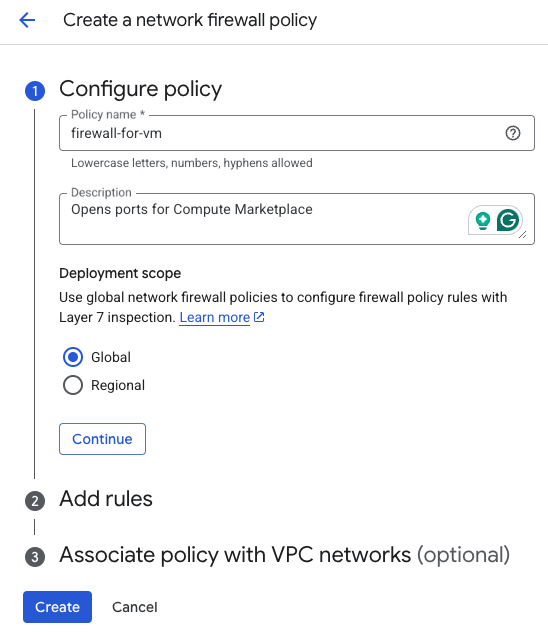
1.3 Name the policy and give it a useful description, click Create.
Show me
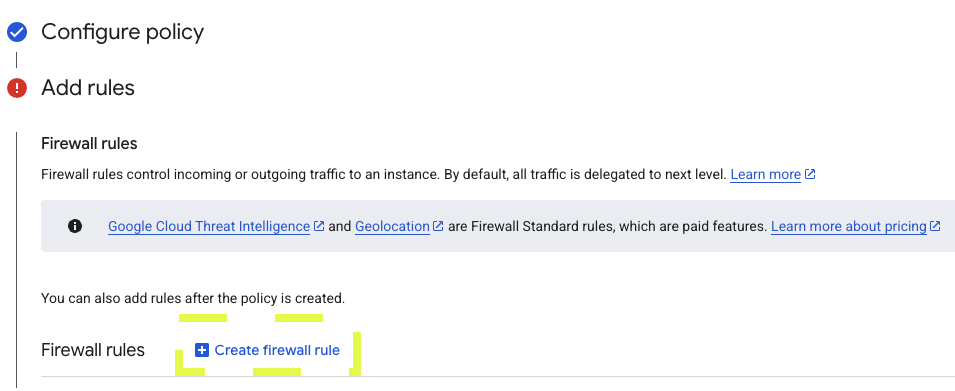
1.4 Click Create Firewall rule.
Show me
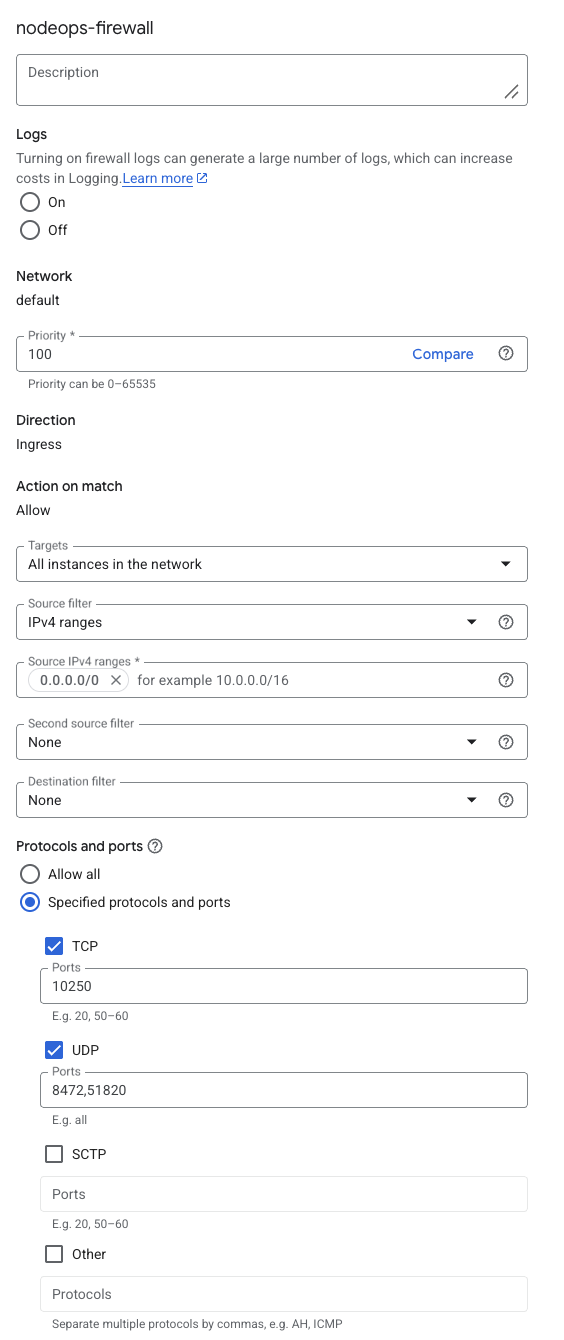
1.5 Set the following configuration and click Create.
Example firewall configuration:
- Name: nodeops-firewall or your alt
- Targets: All instances in the network
- Priority: 100 else your alt
- Source filter: IPv4 ranges
- Source IP ranges: 0.0.0.0/0
- Specified protocols and ports:
- TCP: 10250
- UDP: 8472,51820
Leave the other properties as default:
- Network: default
- Direction: Ingress
- Action on match: Allow
Show me
Setting IPV4 ranges to 0.0.0.0/0 on ingress allows all inbound traffic. Specifying the ports restricts the allowed traffic to only the services or Protocols that use these ports. Unless you scope the rule using network tags or source ranges, it will apply to all instances in the same VPC (Virtual Private Cloud), which may expose unintended services. We DO NOT recommend using this GCP project for any critical purpose as, without further configuration.
Step 2. Create the Compute
2.1 Navigate to Compute Engine.
Show me

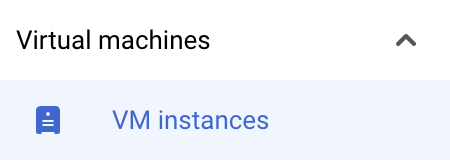
2.2 Navigate to VM instances and click +Create Instance.
Show me

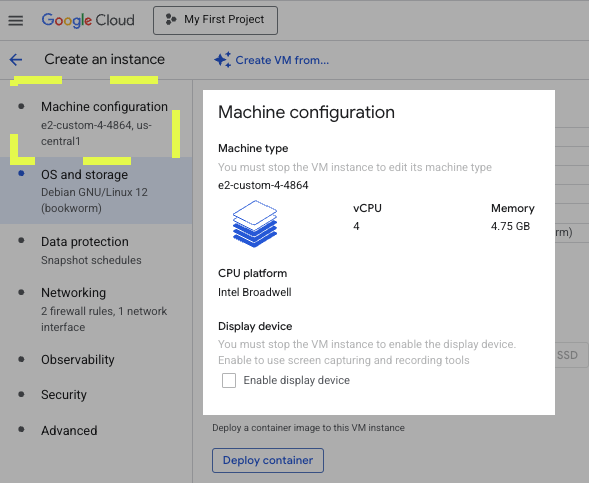
2.3 From Machine configuration, select for example, E2.
Setup a machine to meet the minimum requirements.
Show me
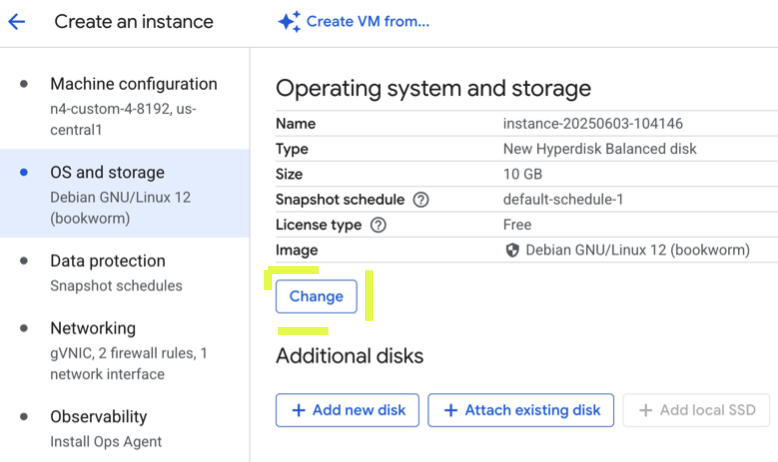
2.4 Click Change and add storage and boot disk to minimum requirements.
Show me
2.5 Click Create
Step 3. Register on NodeOps Marketplace
3a. Register a as a provider
To register as a provider, follow the Get Started or stop for 2 minutes to watch a video of this and all the following steps.
Show me video
3b. Register a machine
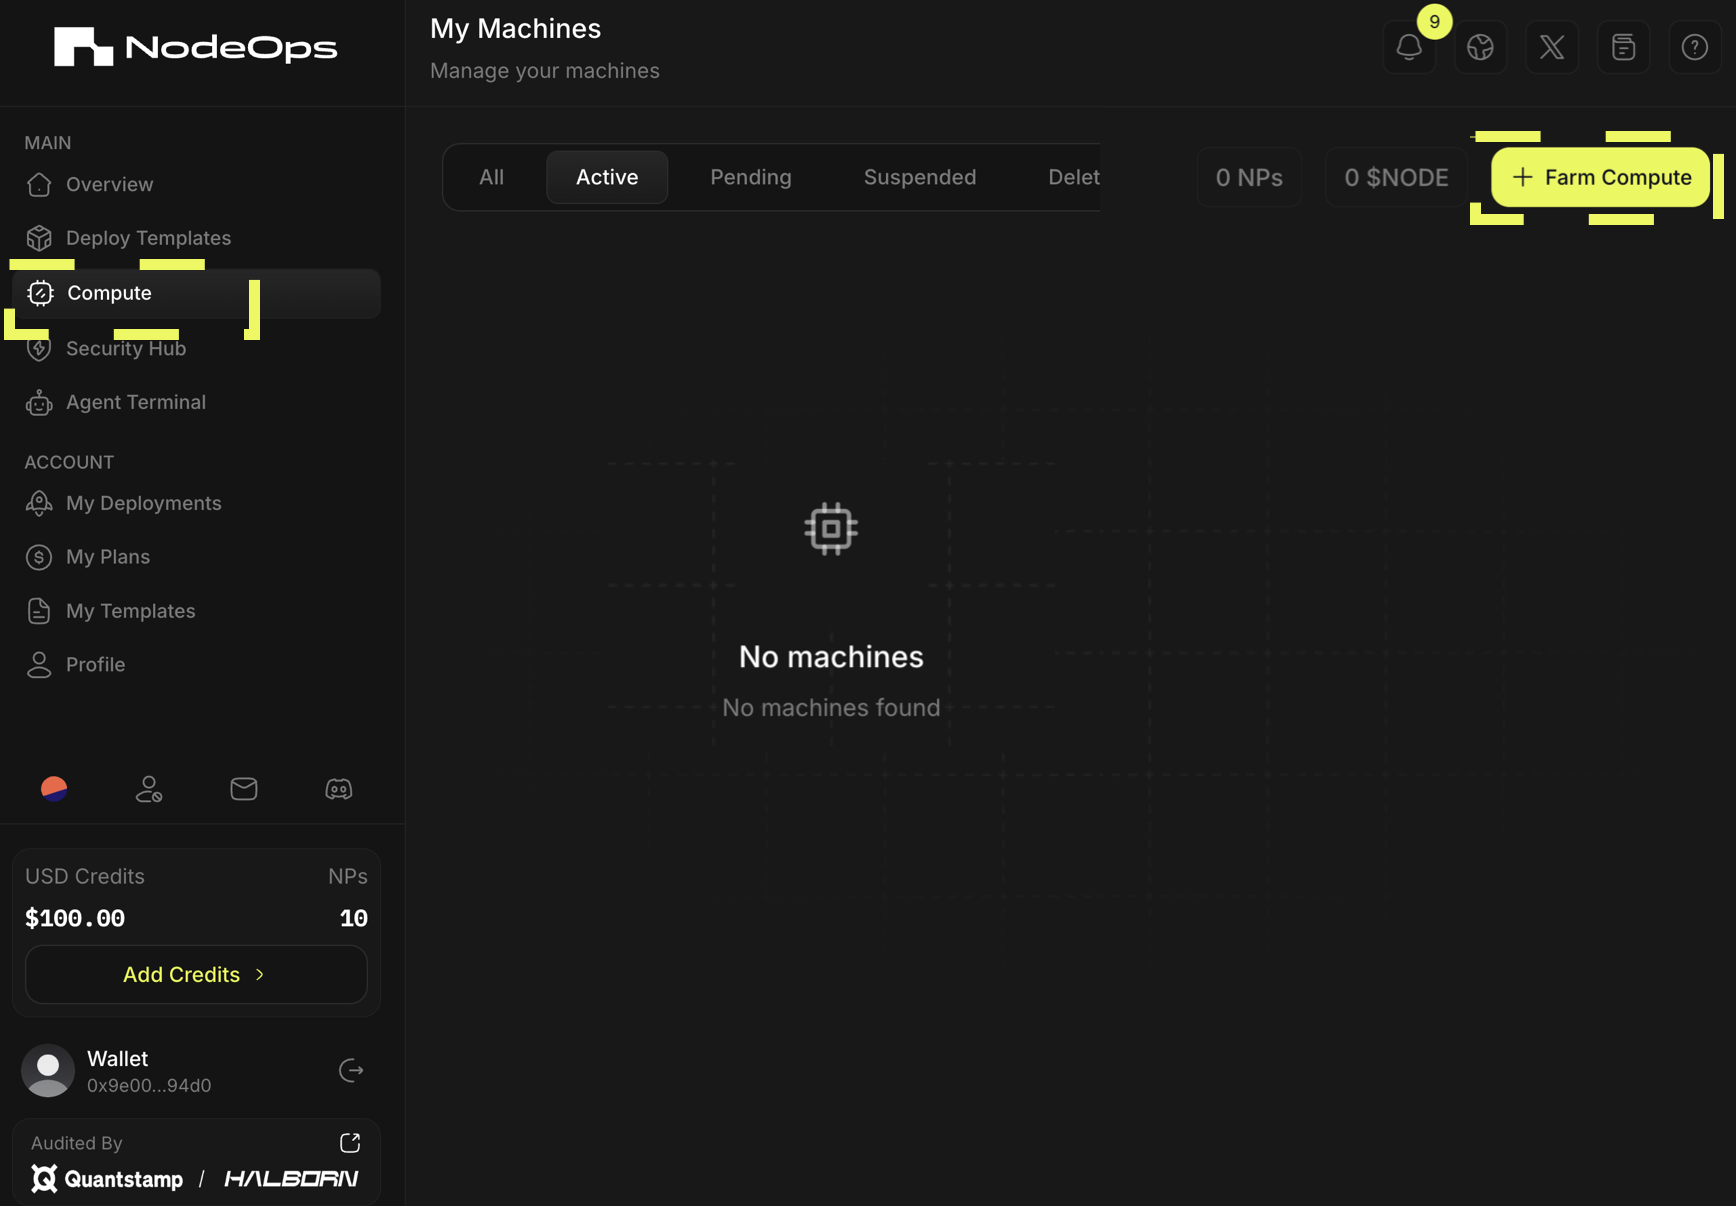
- Logged in to the Cloud Marketplace > Compute > + Farm Compute.
Show me
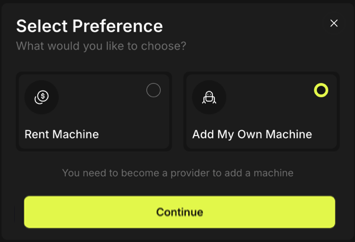
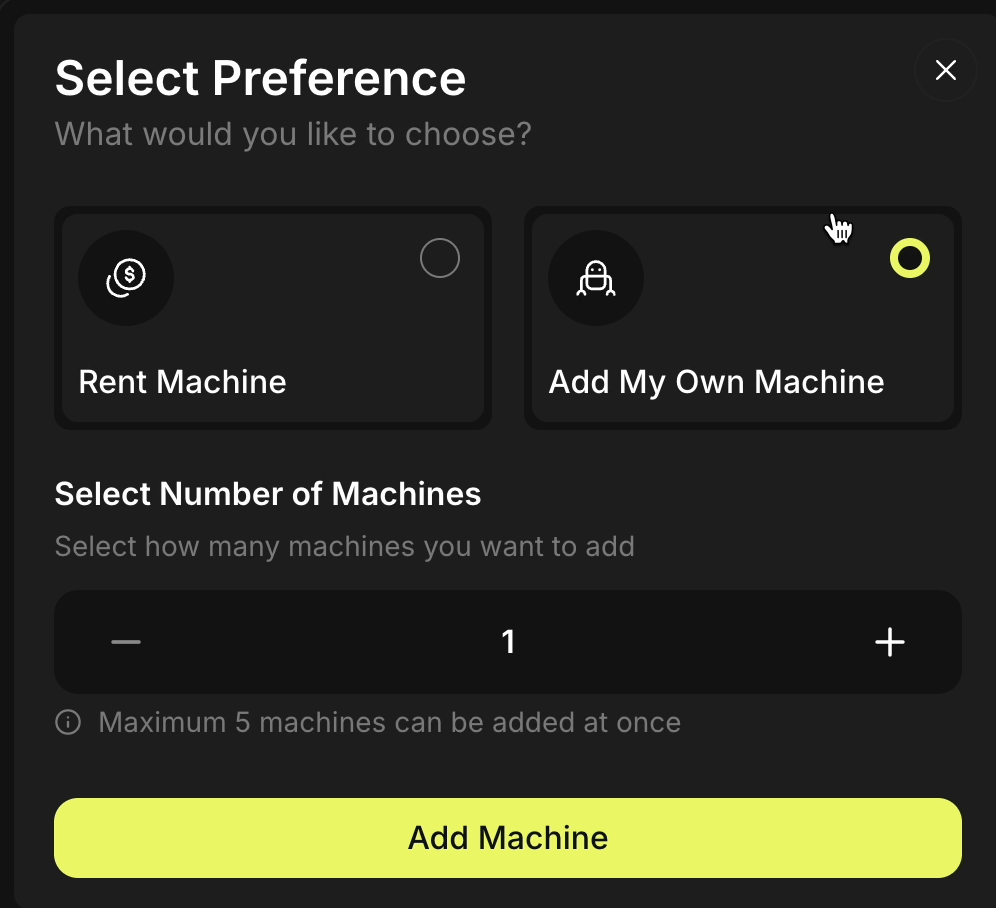
- Select Add My Own Machine > Continue > Determine how many machines > Continue.
Show me
- Sign the 2 transaction requests in your wallet.
Congratulations, the Protocol has registered your Machine and provided it with a unique identifier.
- Copy the setup code: from the All or the Pending tab, click Setup > Copy.
Refresh the page if your Machine doesn't appear in the tab.
Show me
Step 4. Connect NodeOps Network to your GCP Compute
4.1 Add sudo to your command to allow NodeOps Network read and write access to your GCP machine.
curl -L https://get.atlasnetwork.dev | sh -s - 9zvmdvJ****SECRET*****w9PHZwP
becomes
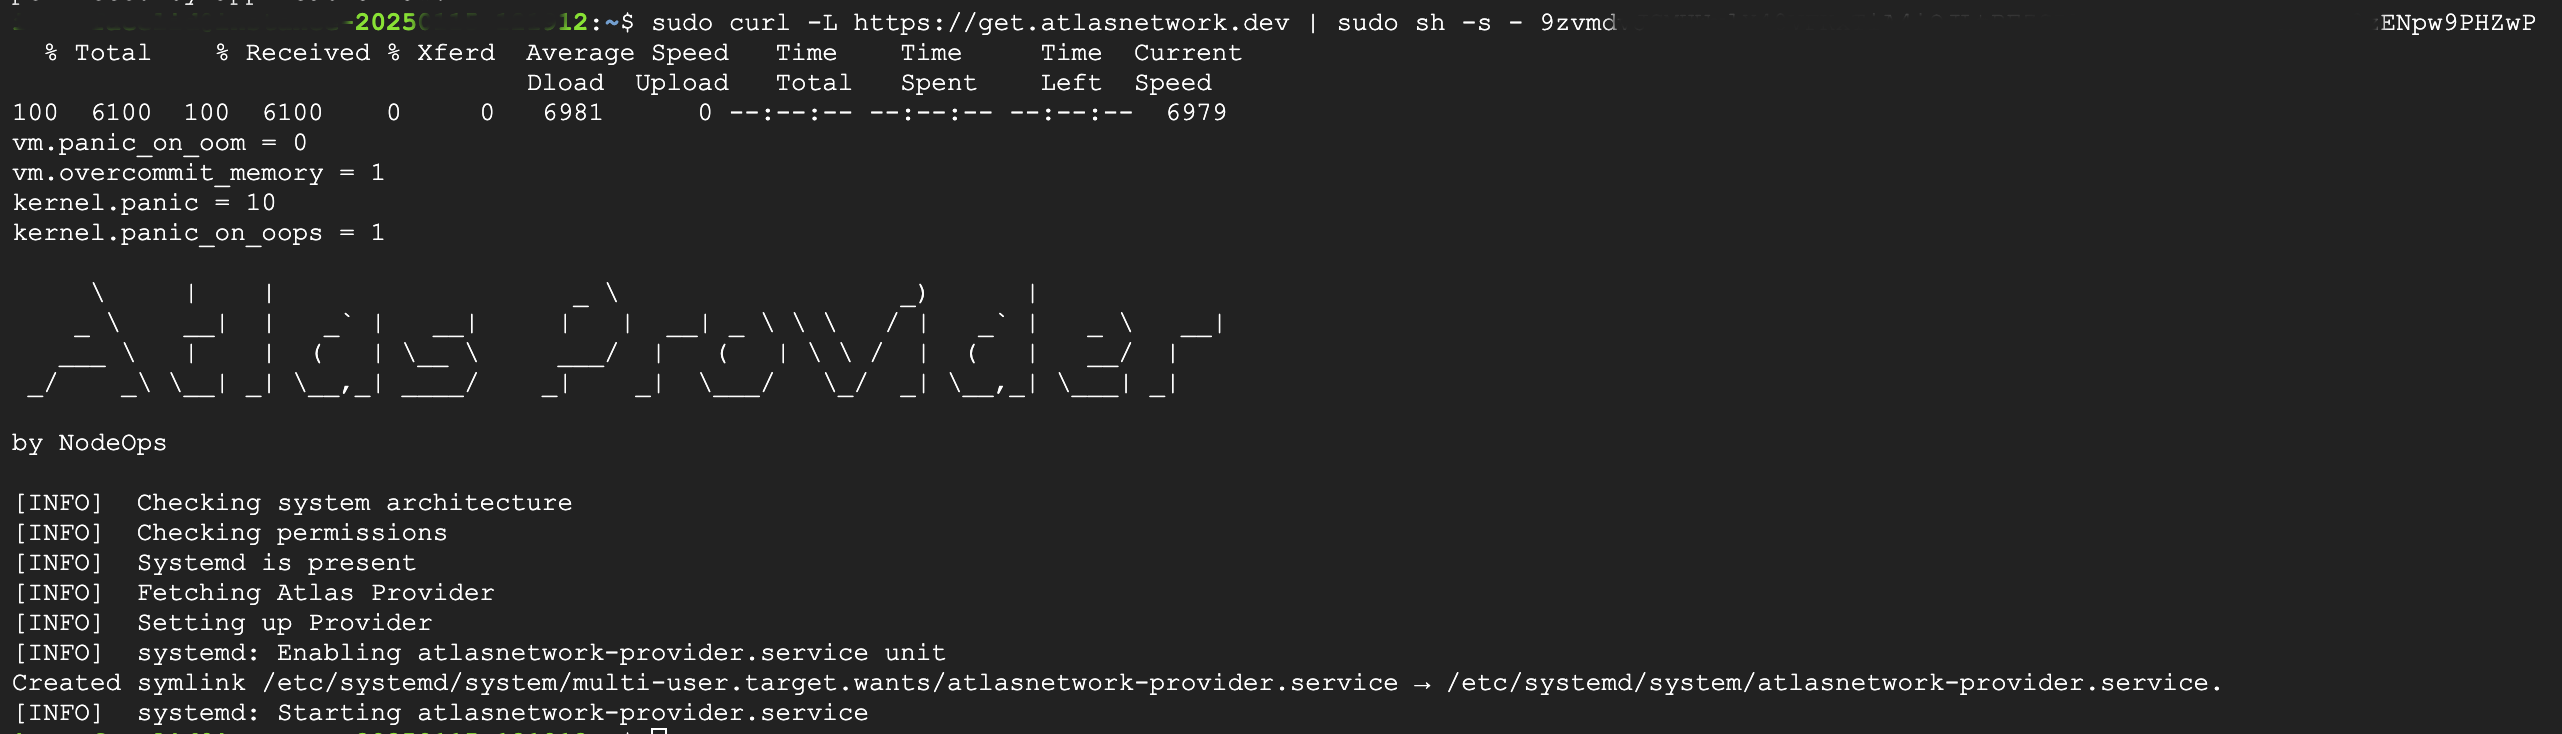
sudo curl -L https://get.atlasnetwork.dev | sudo sh -s - 9zvmdvJ****SECRET*****w9PHZwP
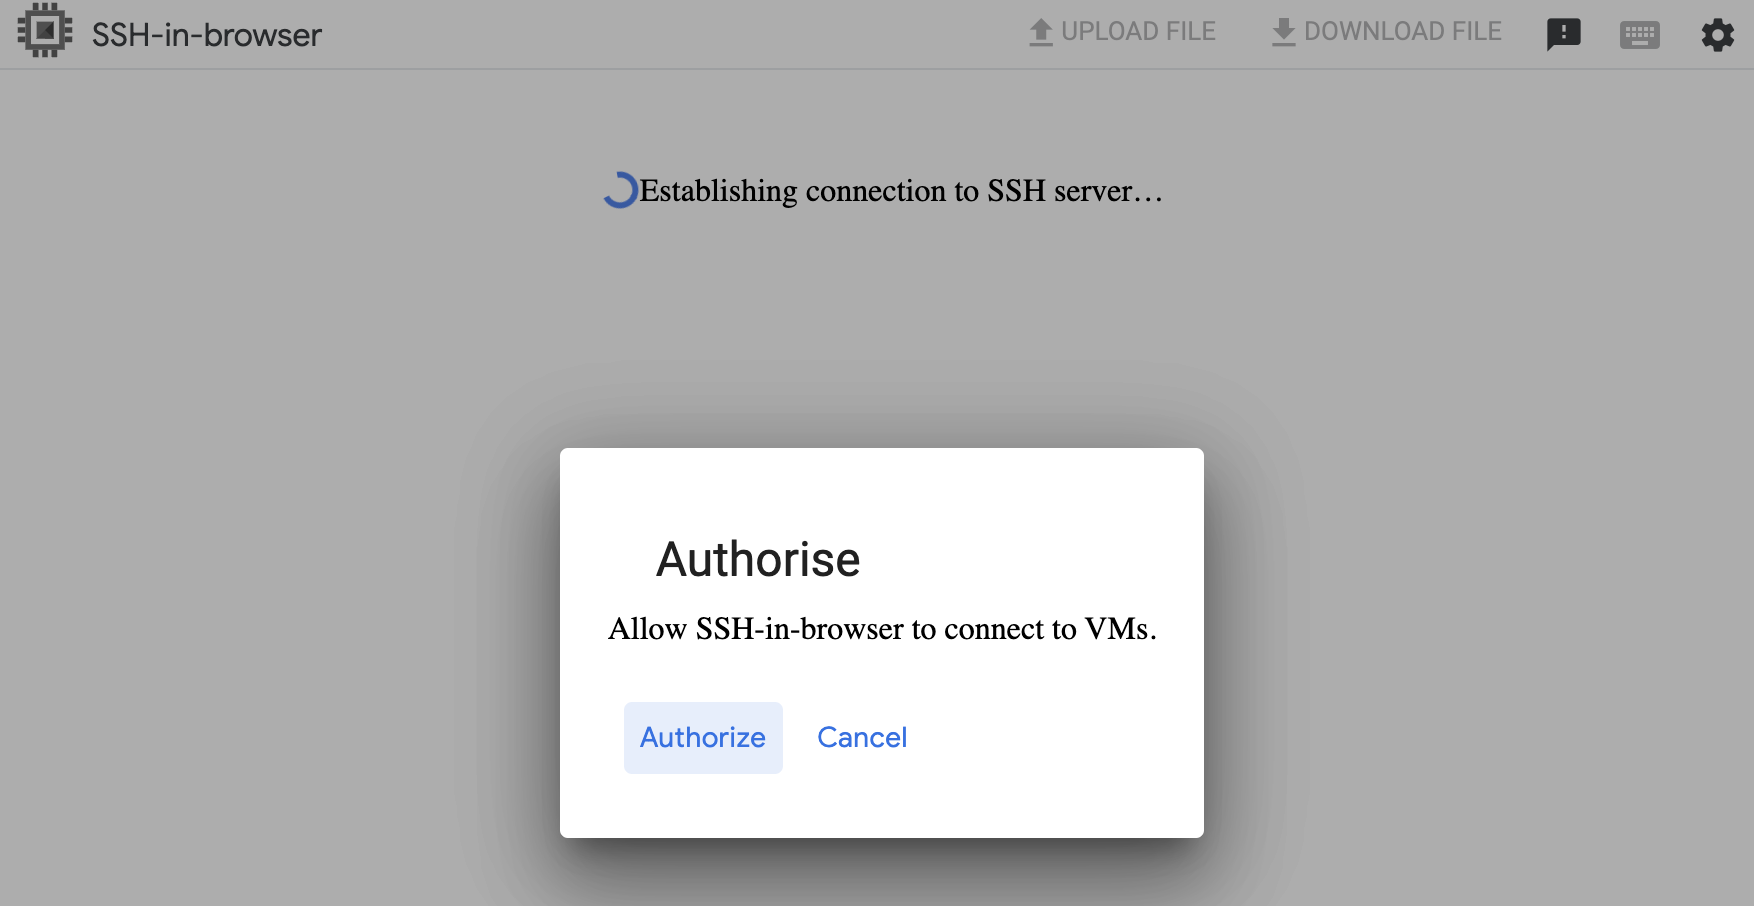
4.2 From the GCP dashboard, navigate to VM instances, click SSH and Authorize to SSH-in-browser connect to your VM.
Show me

4.3 Paste your edited code snippet in the terminal provided and press Enter on your keyboard to run.
Show me
Step 5. Activate your machine on NodeOps Network
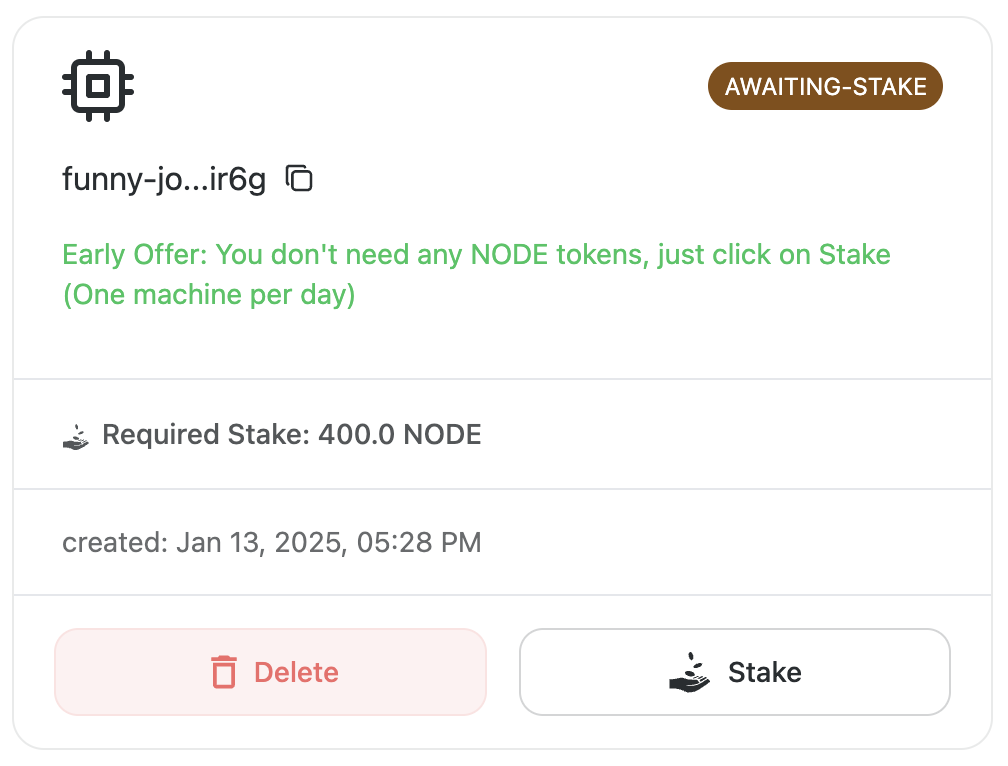
5.1 From the NodeOps Network dashboard, find your GCP machine in the "AWAITING-STAKE" state.
5.2 Continue by clicking "Stake."
Show me
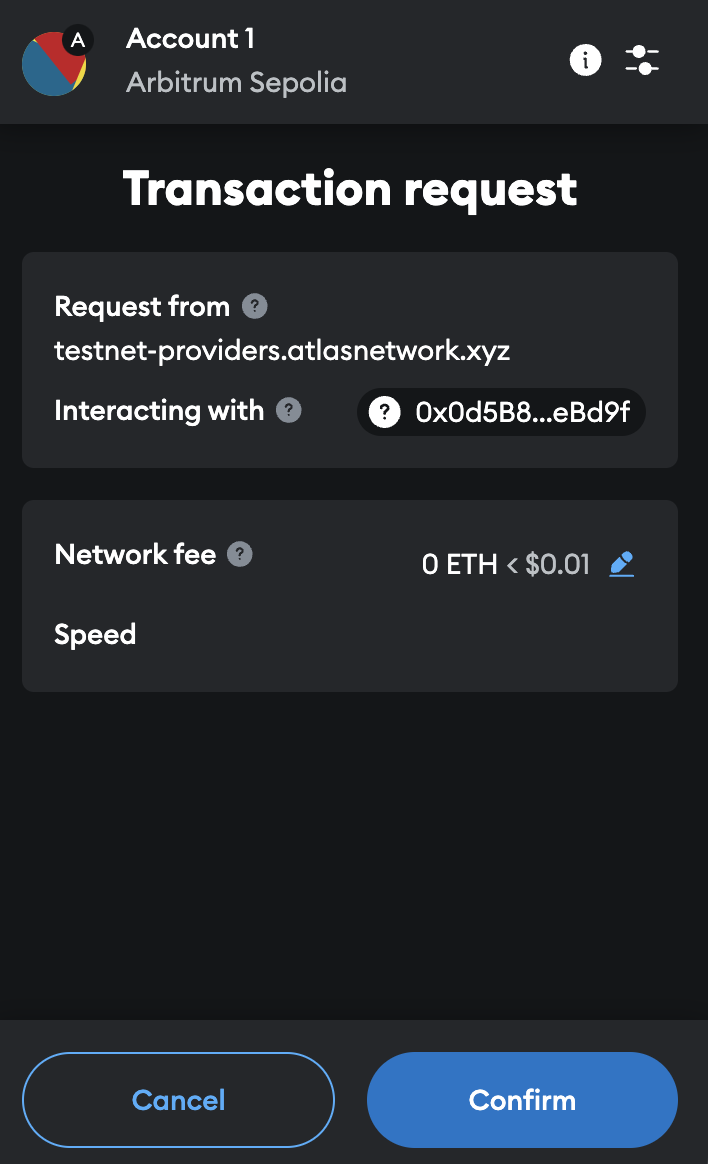
5.3 Confirm the transaction in your wallet.
Show me
5.4 Your Machine's state changes to "CONFIGURING" and then to "ACTIVE."
Congratulations, you're providing decentralized Compute orchestrated by NodeOps Network's Protocol on Arbitrum.
Troubleshooting
Q. Can I check why my machine is not transitioning to active state? A. Yes. From the machine terminal, and run the following command to check if you're facing any issue or if you haven't met the requirements.
journalctl -fu nn-provider*