Manage scans
From the NodeOps Security Hub, you may:
Prerequisites
- An account on NodeOps Marketplace.
- For alerts and recurring scans, that account is linked to an email
This guide will assume you start logged in. Follow the links or watch the video at the end of the page to understand how to manage reports.
Create reports
Follow the Get Started guide to create your first report.
View reports
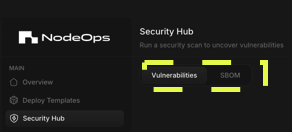
Step 1: Select report type
Select Vulnerabilities or SBOM tab according to the report you need.
Show me
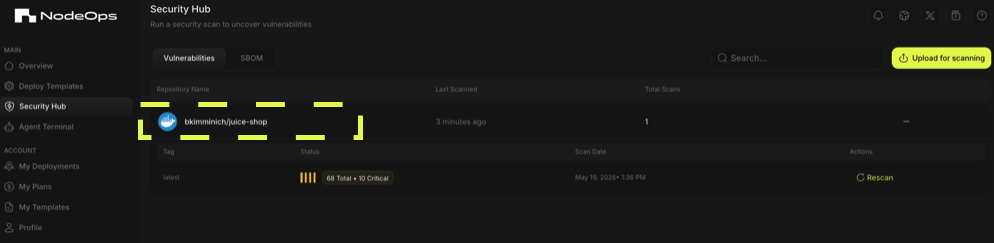
Step 2: Select the report
- Click on the name of the resource to expand the details.
Show me
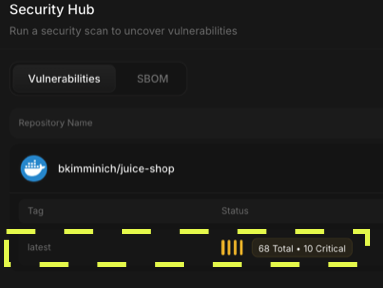
- Click the summary block to deep dive into the scan details.
Show me
Organize reports
From the scan's report page, you have options to sort/and or filter. Use the tabs below to learn more.
- Sort
- Filter
Sort your reports by:
- Vulnerability ID
- Severity
- Status
- Package
- Installed Version
- Fixed Version
- Last Modified
Show me

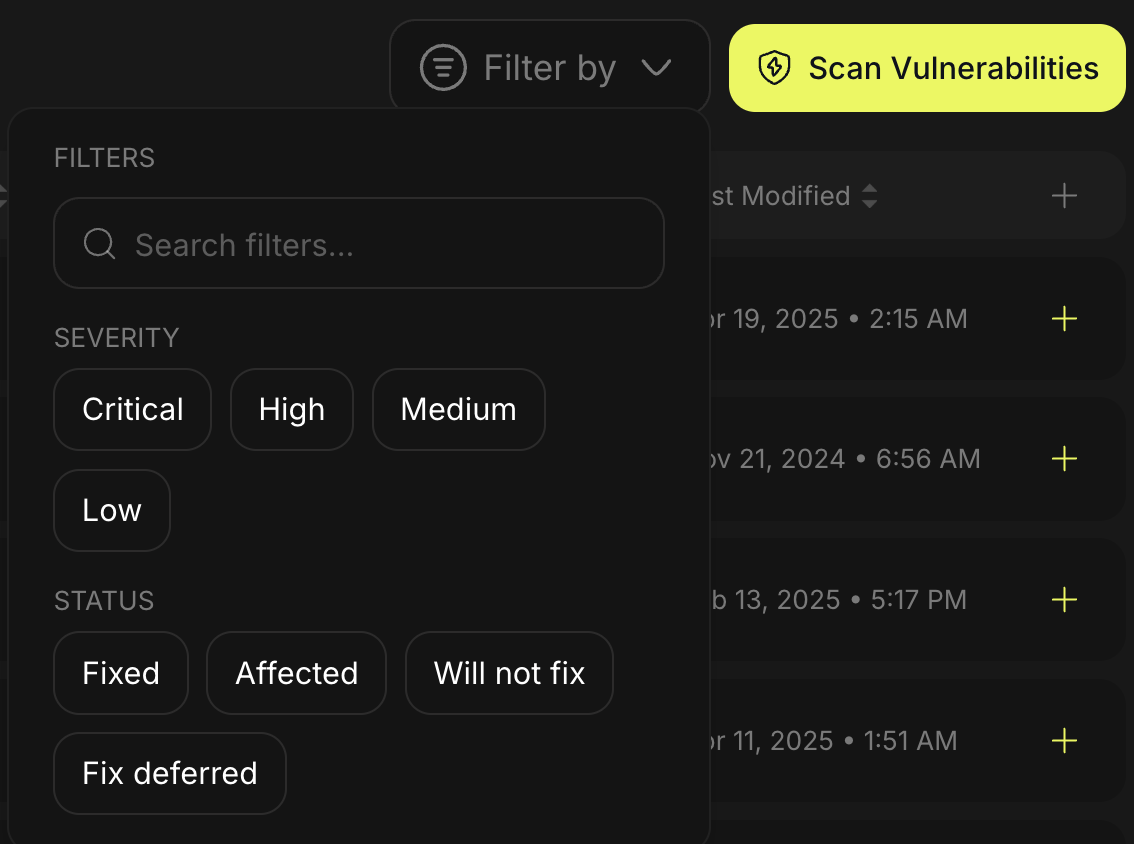
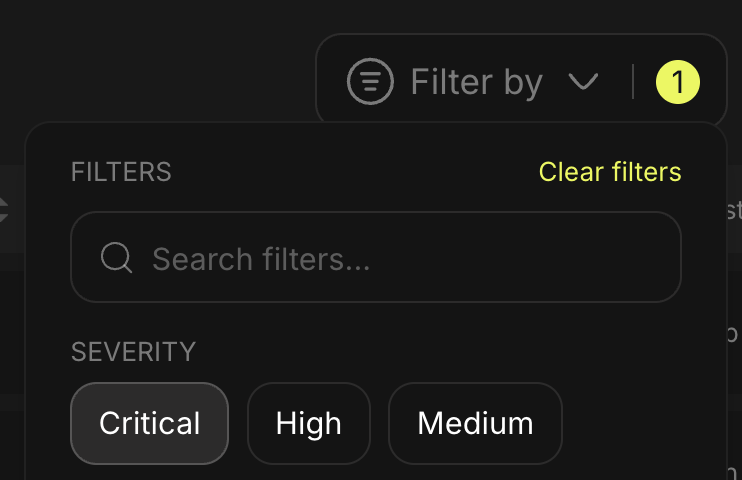
From the right hand side of the scan report, select your filter options.
Show me
Remove filters by clicking Clear filters.
Show me
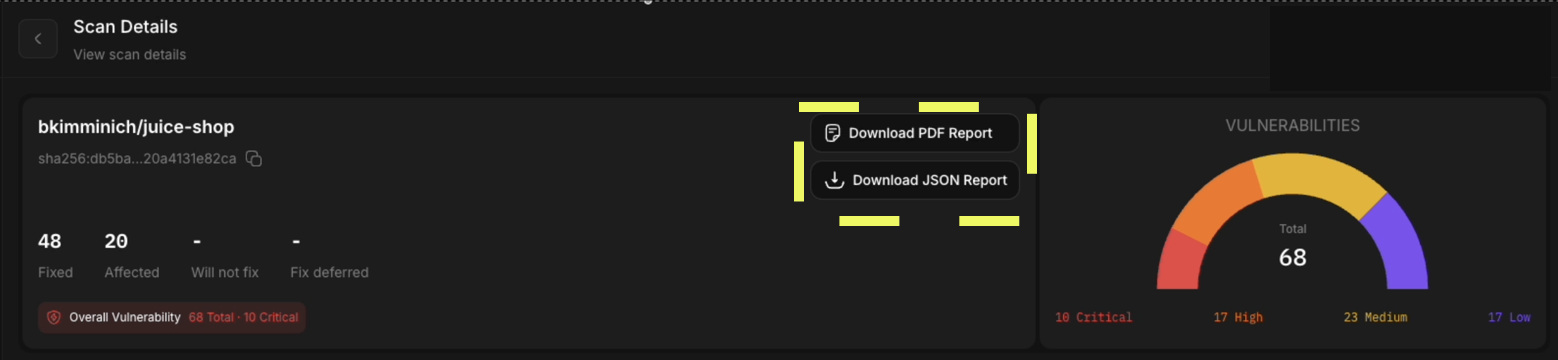
Download reports
From the scan's report page page, you have the option to download the report as a PDF or a JSON file.
Show me
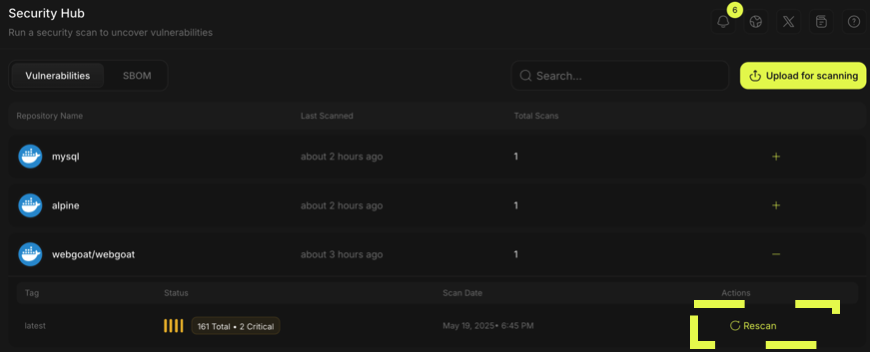
Manually rescan
From the scan overview page page, click Rescan to run a new scan.
Show me
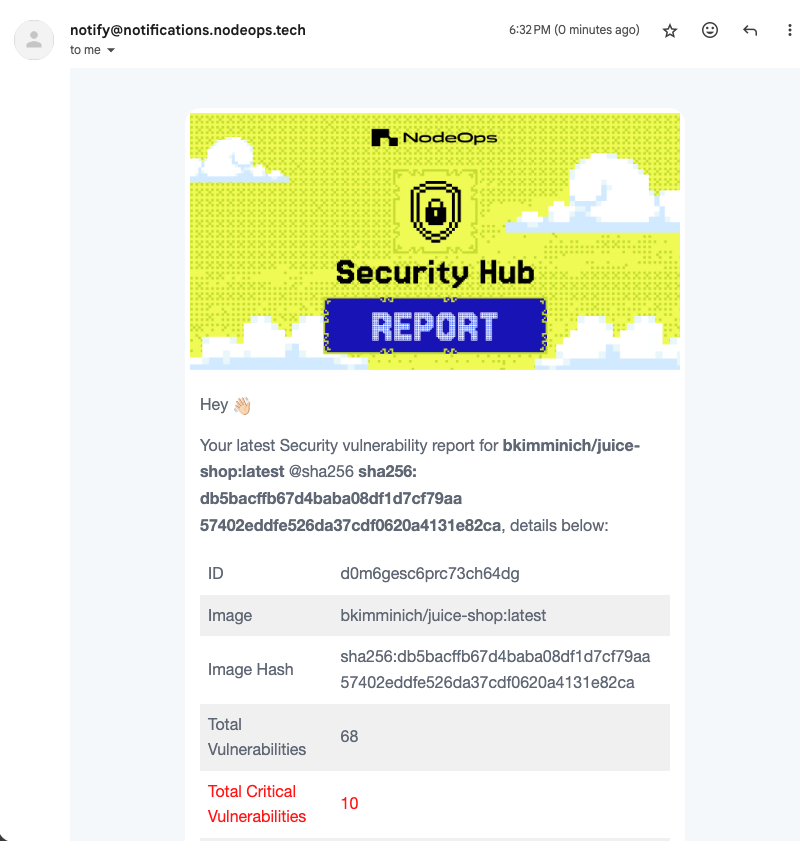
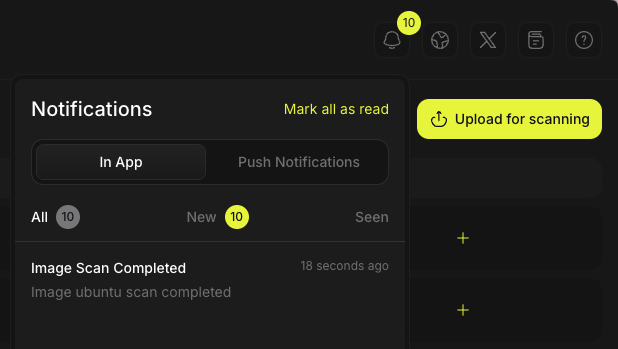
Be alerted
By default you will receive notifications in app. Alternatively, you may choose to be alerted by email, via your machine, or via your browser.
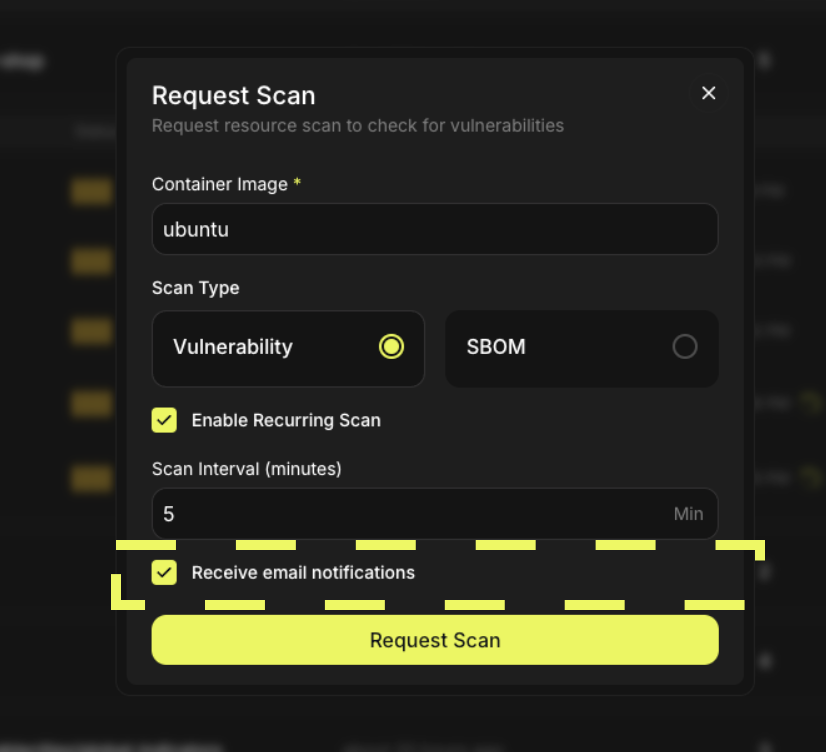
- App
In the Request Scan window, check the box to receive notification scans. You will automatically receive an email notification when the scan has been completed.
Show me
By default you will receive notifications in app.
Show me
What next?
- Follow the Get Started guide to create your first report.
- Learn about Security Hub
- Watch a quick video covering some of these features: