Upload template
TL;DR
- Prepare template for a working app, agent, or an environment or infrastructure configuration
- Upload template
- Submit for review for entry on the Cloud Marketplace or publish privately
Provide an email to receive outcome of a review.
Before creating templates, consider understanding how users consume templates from the Marketplace.
Prerequisites
Decide whether you wish to keep your templates private for personal use, or attempt to monetize them and make them publicly available.
Submit a public template to the Marketplace
Step 1: Become a contributor
To submit a template to the Marketplace, when logged into the Cloud Marketplace, navigate to My Templates and complete the form to become an allowlisted template contributor.
Show me

Step 2: Define your template
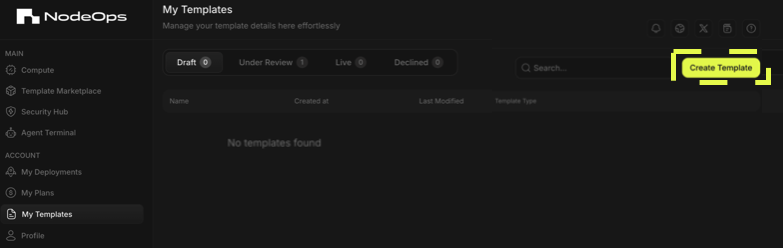
- From My Templates click Create Template.
Show me
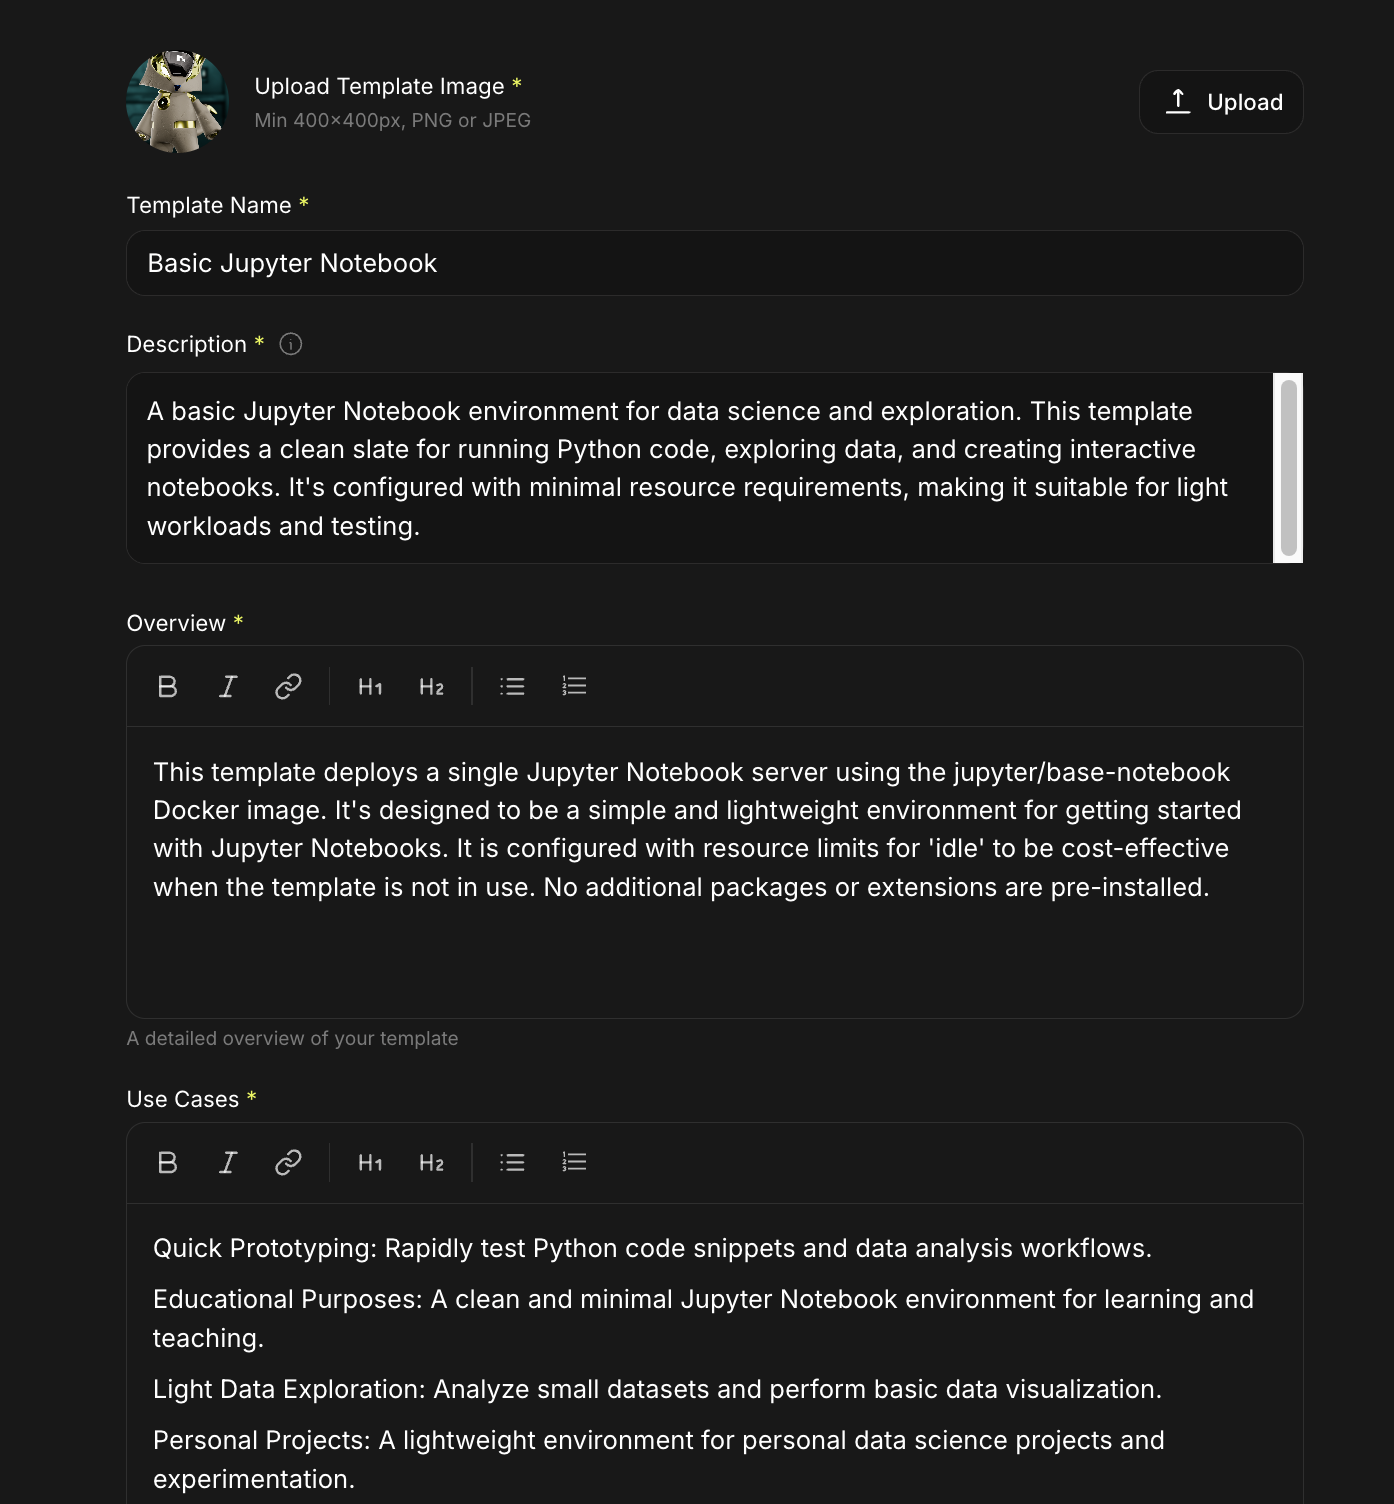
- Set up template metadata.
| Required | Optional | |
|---|---|---|
| Thumbnail image | Tutorial link | |
| Template name | GitHub URL | |
| Template description | Socials | |
| Category | - X | |
| Template overview | - Telegram | |
| Use cases |
Show me
3. Set privacy levels
⚠️ This step should move to the next page.
Use the toggle to determine:
- Whether template will be public or private
- Whether the YAML file should be private
Show me

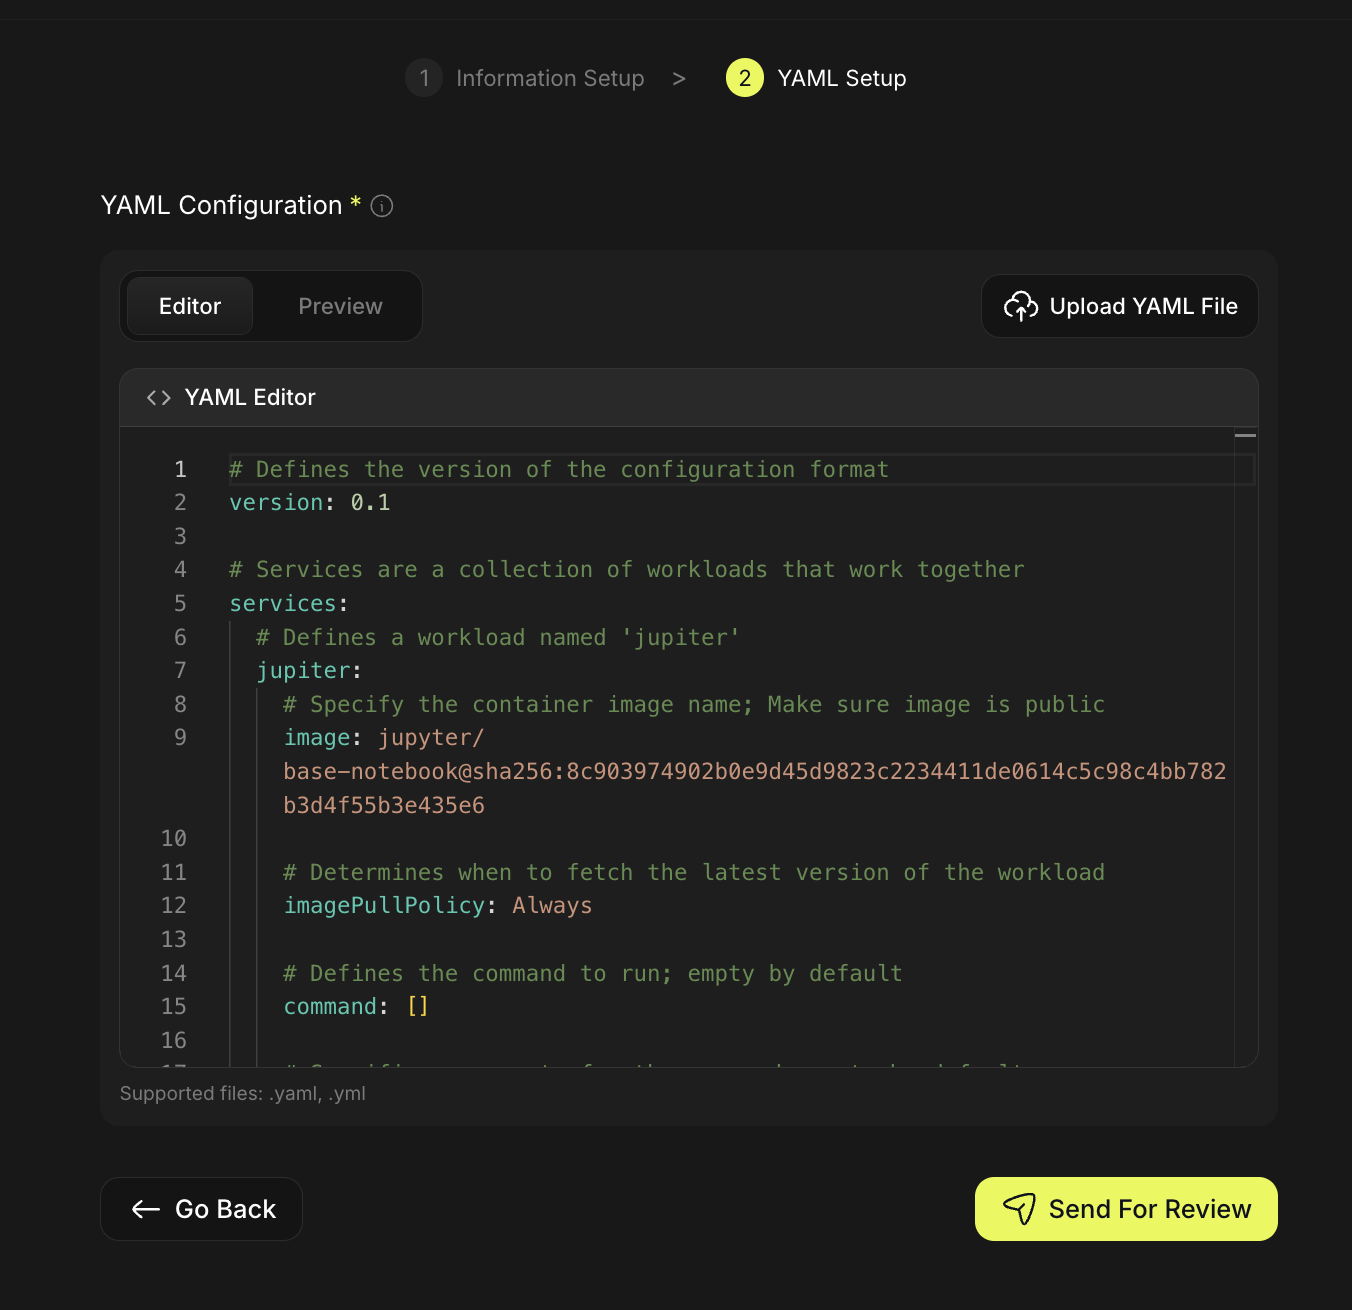
- Either use the YAML editor provided to define your Cloud Infrastructure or upload an existing file.
Show me
See the template schema which shows examples to understand the template structure further.
You may want to save a draft and test your deployment ahead of sending the template for review.
- Submit the resource for review by clicking Send For Review
Verification takes 2-3 days. If it's approved, your template becomes available in the Marketplace.
To receive an email alert, ensure you have linked an email to your Marketplace account.
Create a Private template for personal use
Step 1: Setup template metadata
Expect to carry out steps in flow required for public templates. This is because the tool is designed to populate the Marketplace, however, you are welcome to fly solo!
- From the Cloud Marketplace, navigate to My Templates and complete the form.
This form is essentially redundant for private templates, however, if you never make your template public, this data remains unused.
Show me
- Set up template metadata.
| Required | Optional | |
|---|---|---|
| Thumbnail image | Tutorial link | |
| Template name | GitHub URL | |
| Template description | Socials | |
| Category | - X | |
| Template overview | - Telegram | |
| Use cases |
This metadata is essentially redundant for private templates, however, if you never make your template public, this data remains unused.
Show me
- Set privacy levels
⚠️ This step should shortly move to the next page.
Use the toggle to determine:
- Whether template will be public or private
- Whether the YAML file should be private
Show me
Step 2: Define your template
1 From My Templates click Create Template.
Show me
2 Either use the YAML editor provided to define your Cloud Infrastructure or upload an existing file.
Show me
See the template schema.
3 Submit the resource to your profile by clicking Send For Review.
(Optional) Test your template deployment
Use the video or walkthrough to understand how to leverage your 3 free 10 minute deployments to test your templates.
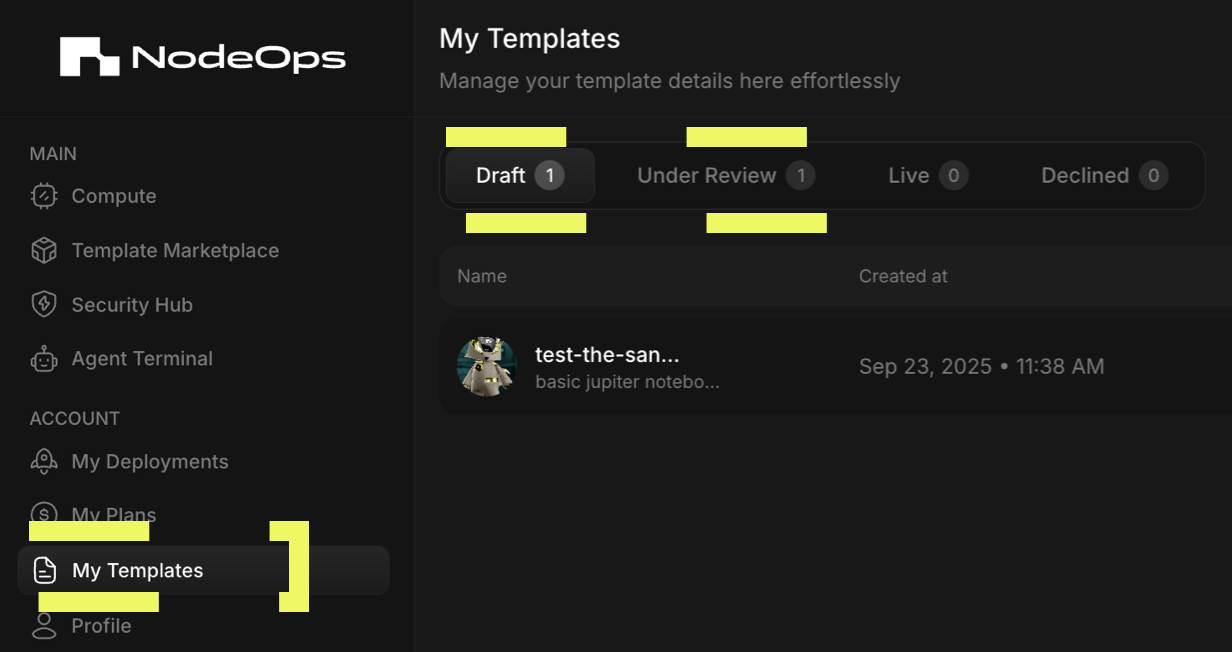
- Navigate to My Templates and select a Draft or Under Review template.
Show me
-
Click to select a template that you want to test the deployment for.
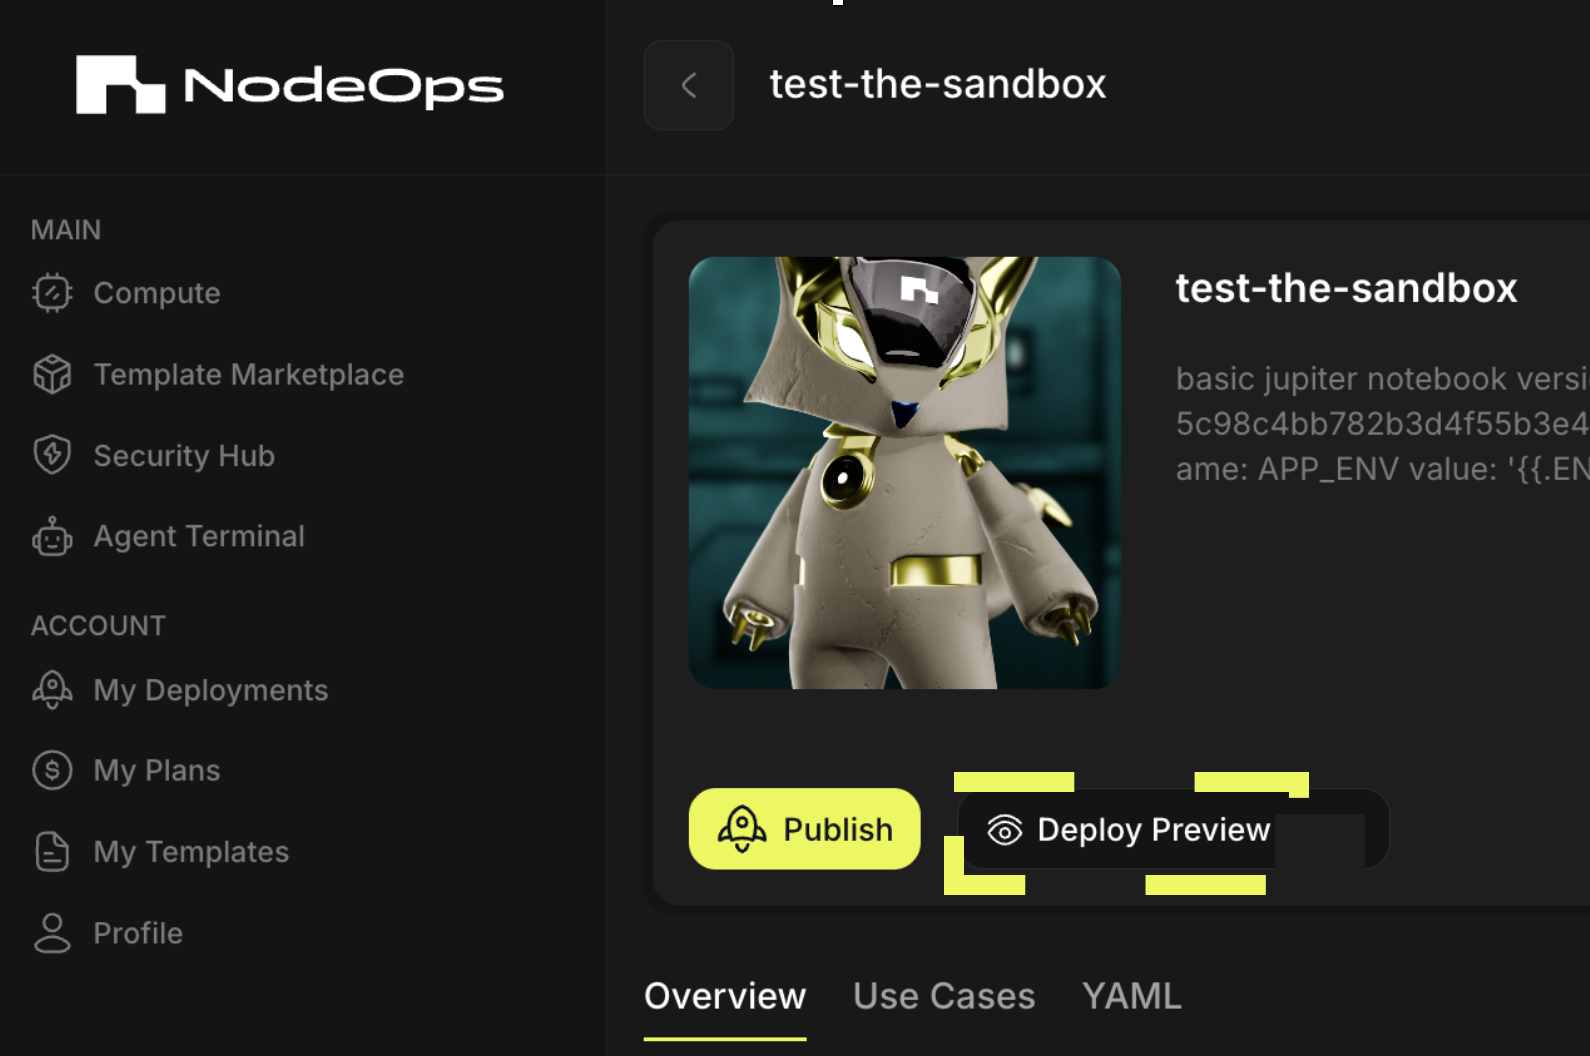
-
Click Deploy Preview.
Show me
What next?
- Understand more about template schemas and constraints
- Before using a verified or community template, you may wish to scan the resource for vulnerabilities
- Learn about how playbooks assist you to configure your Compute Infrastructure