Stake $NODE on NodeOps
🌟 Status: Live
Connect your wallet to Portal.NodeOps.Network to stake your tokens.
Earn $NODE by staking $NODE.
Earn $NODE by staking supported tokens.
Stake $NODE with NodeOps Portal
Use the video or walkthrough to understand how to stake $NODE to earn $NODE yield.
Show me video
For a real-time, guided walkthrough, checkout the YouTube of How to stake $NODE.
Prerequisites
- EVM-compatible wallet containing $NODE
- Gas funds
Step 1: Lock your $NODE
-
Logged into NodeOps Portal, click Stake on the left hand menu.
-
Enter the amount of $NODE to stake.
-
Select your lockup period.
The longer you stake, the better the rewards.
-
Click Approve NODE, review the transaction details, and confirm in your wallet.
-
Click Stake, review the transaction details, and confirm in your wallet.
Step 2: (Optional) verify the transfer
Click View on explorer to examine the onchain record of the transaction.
Stake supported tokens with NodeOps Portal
Show me supported tokens
- 🌟 Status: Live
- 🚧 Status: Coming soon
- 🏁 Status: Completed
- $ATH Mainnet
100 K gNode pool | ends 4th October, 2025
- $POL on Ethereum Mainnet
2 mil gNODE pool | ends 28th July, 2026
NodeOps is working hard to make our vision a reality:
- $HYPE Mainnet
- $ETH EigenLayer Mainnet
- $BEAM Mainnet
- $HYPE Testnet
This guide walks you through staking supported tokens. Use the video or walkthrough to understand how to stake to earn yield and gNODE rewards.
Testnet $HYPE is used in this example, the flow is identical for other tokens.
Show me video
Prerequisites
- EVM-compatible wallet containing the supported tokens
Step 1: Connect with the Staking apps
Connect your wallet on the HyperLiquid Testnet explorer to view your Testnet $HYPE holdings.
Using the wallet containing your tokens:
-
Connect to the HyperLiquid staking app
-
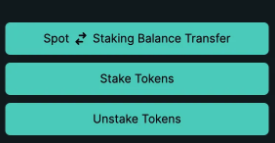
Click on Spot←→Staking Balance Transfer and assign the value of tokens you will stake.
Show me
- Connect the same wallet at Portal.NodeOps.Network.
Step 2: Stake
-
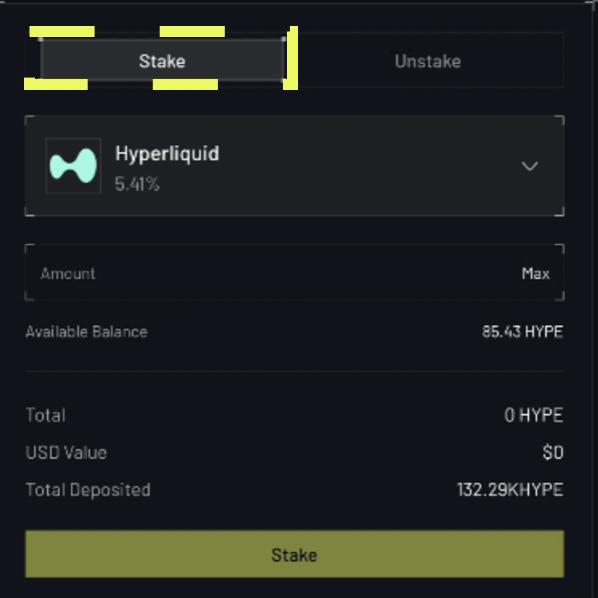
Click Stake on the right hand side of the dashboard.
-
Enter the Amount of tokens you wish to stake, or click Max.
Show me
-
Review the details and confirm your selection by clicking Stake.
-
Review and confirm the transaction request in your wallet.
Congratulations, you should received a Stake successful alert and may now close the form.
Step 3: (Optional) Verify your stake
Click the My Stakes tab to review your delegated stakes.
What next?
- To stake $ATH use the Guide to follow the unique flow
- Follow the guide to learn how to use the Portal app to manage your tokens
- Browse the staking with NodeOps FAQ