Register a Machine
🌟 Status: Live on Mainnet
- Run one line of code to register your Machine
- Bond $NODE according to your Machine's CU
This page details the Machine registration process, with video and step-by-step guides.
Register a Machine on NodeOps Cloud Marketplace
Show me video of the flow
Prerequisites
- Registered as a provider
- Dedicated Machine or virtual Machine satisfying the minimum requirements
- Wallet with
- ≥0.01 Arbitrum ETH
- $NODE on the Arbitrum network:
- 2000 $NODE + 200 $NODE for every CU
- Optional: Email address
While an email is optional, it's required to receive alerts about the status of any Machines you supply
Register a new Machine
Step 1. Collect the code to run on your Machine
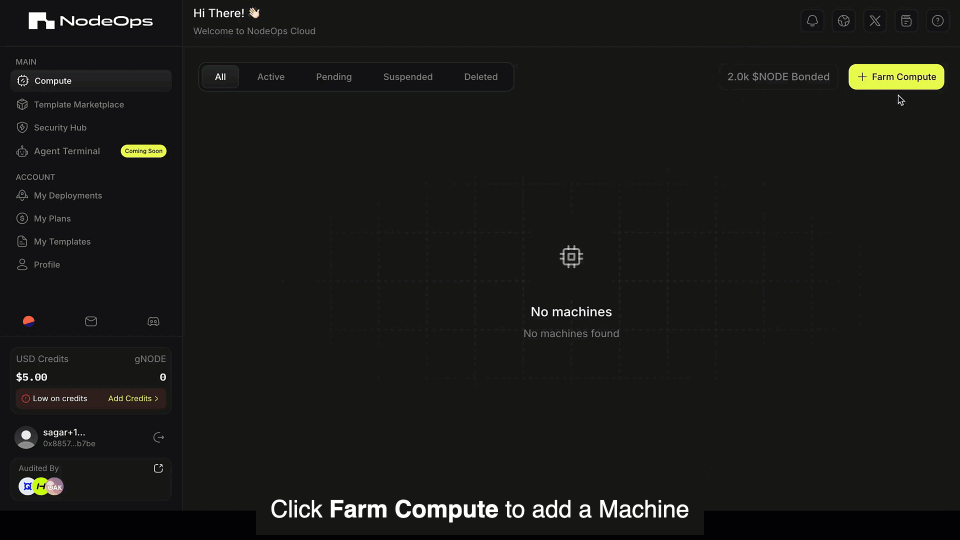
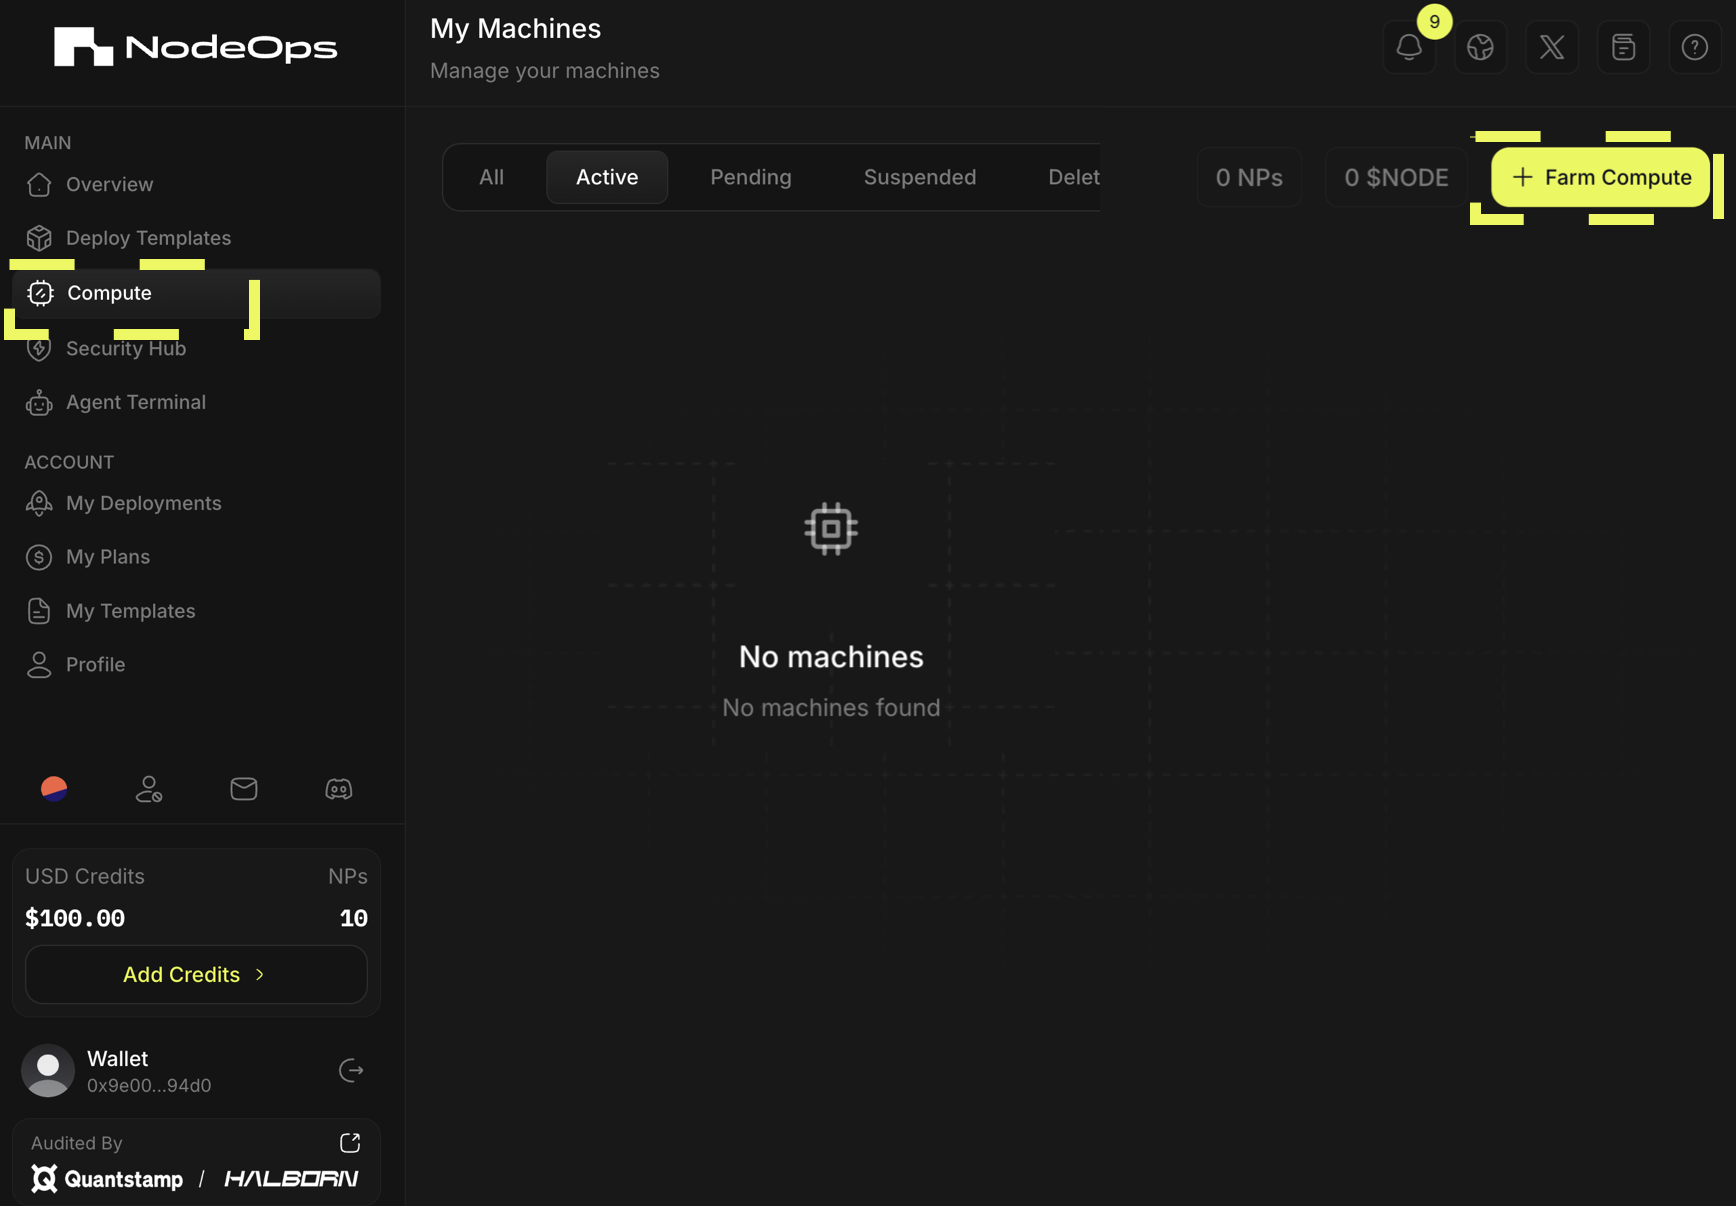
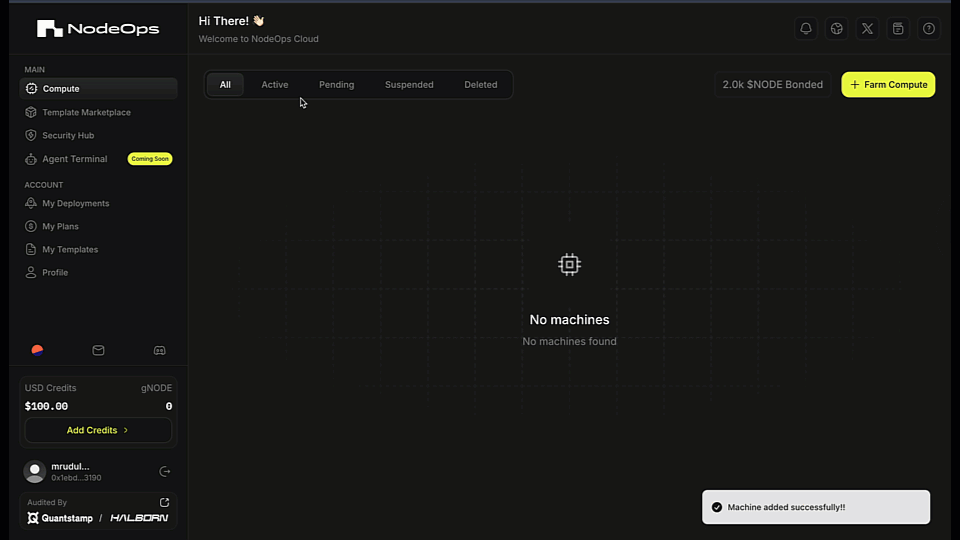
- Logged in to the Cloud Marketplace > Compute > + Farm Compute.
Show me
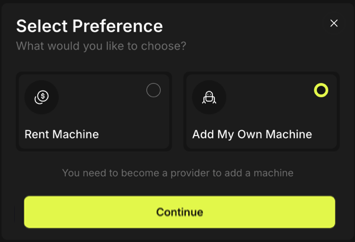
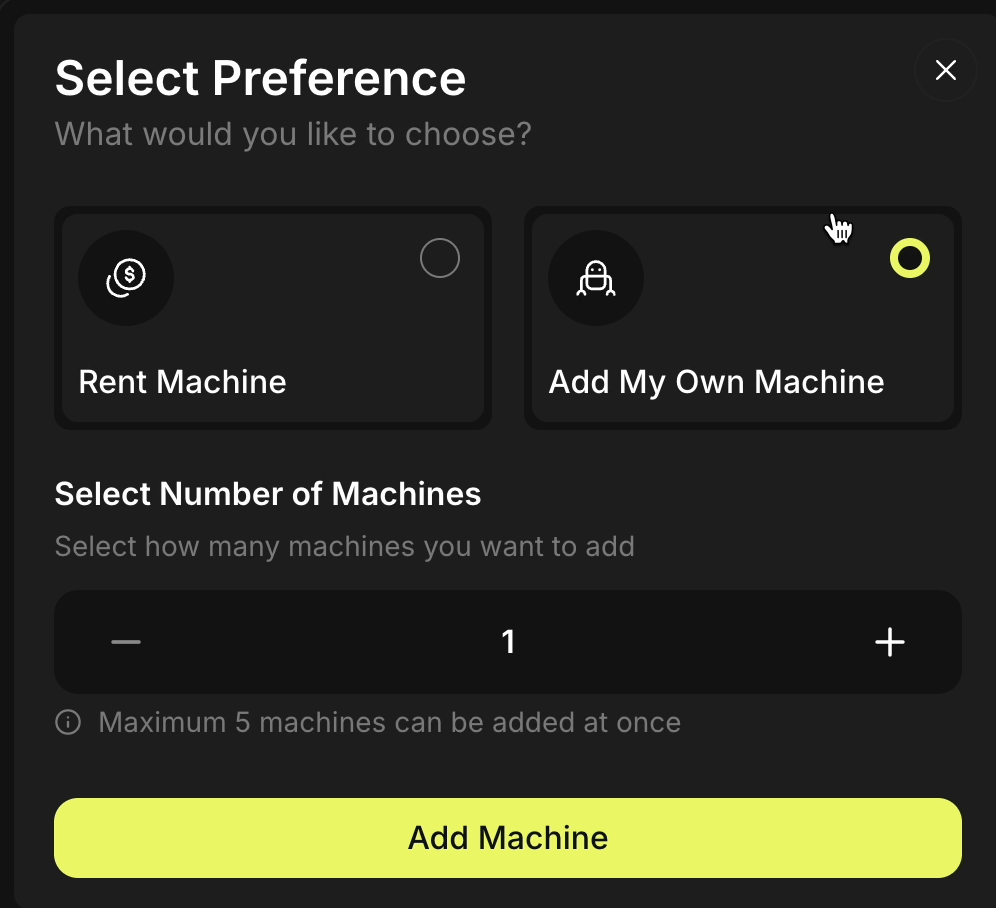
- Select Add My Own Machine > Continue > Determine how many machines > Continue.
Show me
- Sign the 2 transaction requests in your wallet.
Congratulations, the Protocol has registered your Machine and provided it with a unique identifier.
- Copy the setup code: from the All or the Pending tab, click Setup > Copy.
Refresh the page if your Machine doesn't appear in the tab.
Show me
Step 2. Make the Machine available
Your Machine will remain in "PENDING" status until the command you generated in Step 1 is executed on that Machine.
- Open the command line interface on the Machine you wish to add. Run the command provided in Step 2 at root on the Machine you wish to add.
This code makes the Machine available on the NodeOps Network and the secret identifies it.
Show me
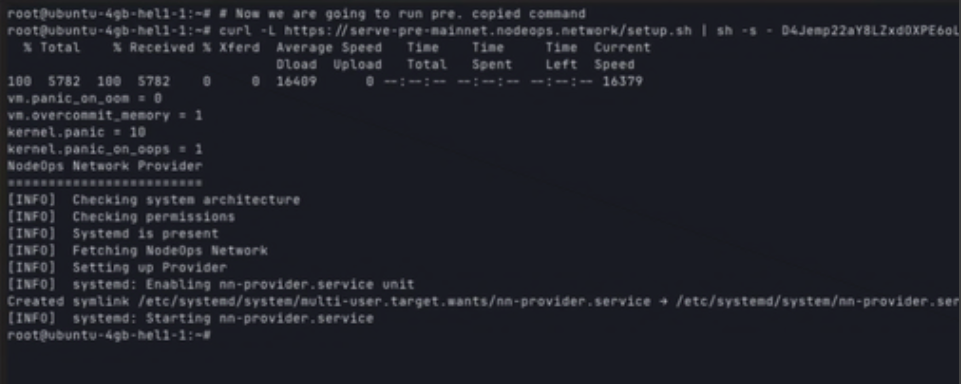
See the Gotchas if this step fails.
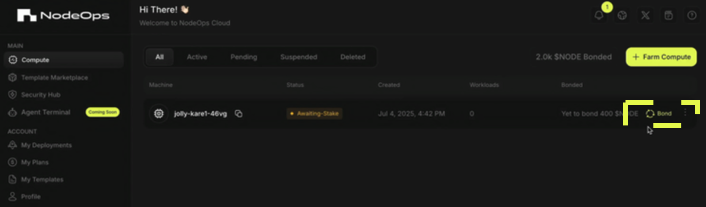
2.2 Upon the command's successful execution, the Machine will be visible under the All tab in the "AWAITING-STAKE" state.
Step 3. Bond $NODE to the Machine
- Click Bond.
The value of the bond is determined by the number of CUs the machine offers.
Show me
-
Confirm the transaction in your wallet.
-
Your Machine's state changes to "CONFIGURING" and then to "ACTIVE."
Gotchas
Copy error
An error such as cannot create regular file '/usr/local/bin/atlasnetwork-provider': Permission denied means you didn't create a user account at root for NodeOps Cloud with the correct permissions to run the code.
You can get around this on Ubuntu by downloading the script locally and then running these with sudo. That means:
curl -L https://get.atlasnetwork.dev | sh -s - ZxEsuA******************zAJ6
becomes
curl -L https://get.atlasnetwork.dev -o atlas-installer.sh
sudo sh atlas-installer.sh ZxEsuA******************zAJ6
Rejected Machines
Your machine will be rejected if:
- It runs workloads in addition to the NodeOps Network assigned loads
- If SWAP is enabled
Troubleshooting
Q. Can I check why my machine is not transitioning to active state? A. Yes. From the machine terminal, and run the following command to check if you're facing any issue or if you haven't met the requirements.
journalctl -fu atlas*
Congratulations, you are providing decentralized Compute via the NodeOps Network's Protocol on Arbitrum.
What next?
- To view your Machines, click on ACTIVE Machine. New Machines can take several minutes to display these details
- Learn more about the provider role
- Understand more about your Machine's status